
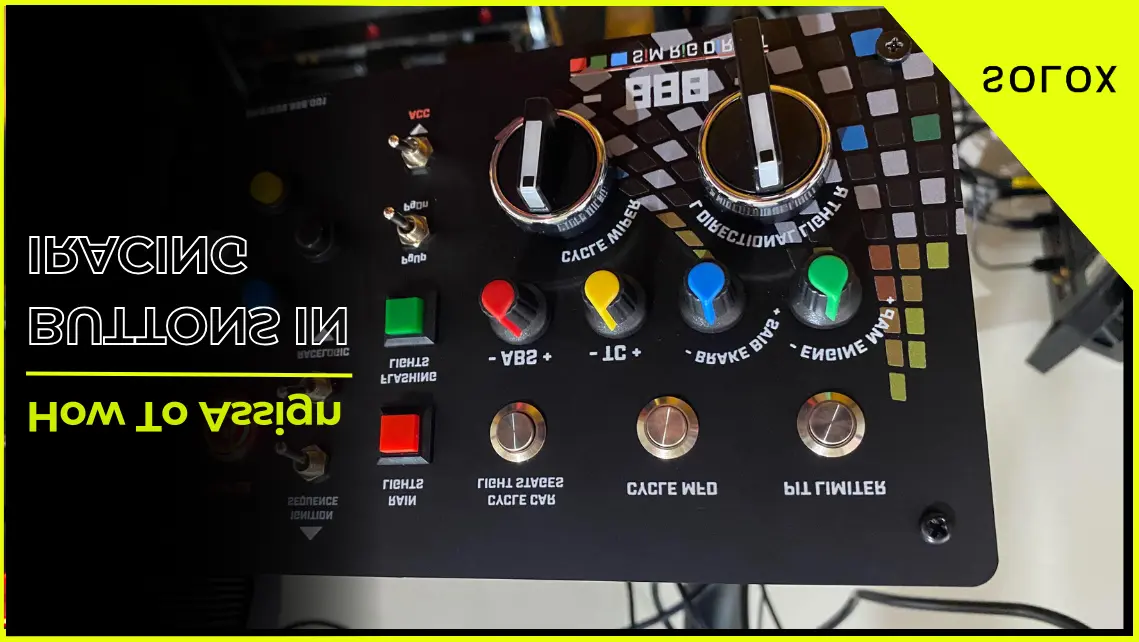
Assigning buttons in iRacing allows you to customize your controls for a more personalized and efficient racing experience. This capability is essential for tailoring your setup to suit your driving style and preferences. This guide provides a step-by-step approach to assigning buttons in iRacing.
Step 1: Understanding the Importance of Button Assignment
Before starting the button assignment process, it's crucial to understand its significance. 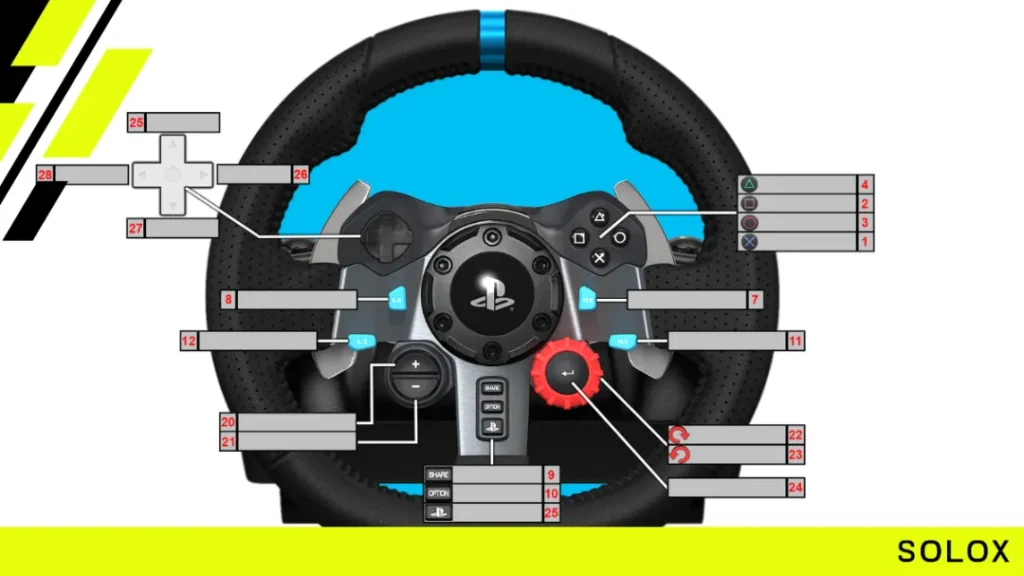 Custom button assignments can enhance your control over the car, making actions like shifting gears, adjusting brake bias, or communicating with other drivers more accessible and intuitive.
Step 2: Accessing the iRacing Settings Menu
The first practical step in assigning buttons is to access the iRacing settings menu. Once you've launched iRacing, navigate to the 'Options' menu, typically located at the top of the main screen. This menu houses various settings, including those for controls and button assignments.
Step 3: Navigating to the Controls Section
Within the 'Options' menu, locate and select the 'Controls' tab. This section is dedicated to configuring your input devices, including your steering wheel, pedals, and any additional controllers. It's here where you will assign and customize your button configurations.
Step 4: Selecting the Device for Button Assignment
In the 'Controls' section, ensure that the device you want to assign buttons to is selected. 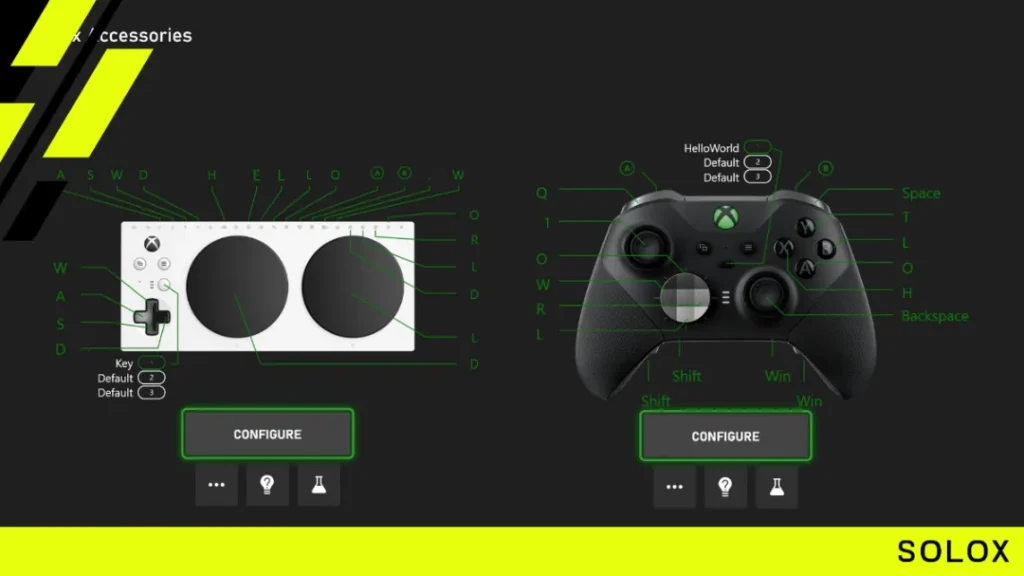 This could be your steering wheel, joystick, or gamepad. The selected device will display its current button configuration, which you can modify.
Step 5: Assigning Buttons for Specific Functions
To assign a button, first select the function you want to assign. This could be a command like 'Shift Up,' 'Shift Down,' 'Pit Speed Limiter,' or any other action available in iRacing. Once you've selected the function, press the button on your device that you want to assign to it.
Step 6: Saving and Testing Your Button Assignments
After assigning your buttons, save your settings. It's crucial to test these new assignments in a practice session or test drive to ensure they work as expected. This step helps you verify that the buttons are responsive and correctly mapped to your chosen functions.
Step 7: Making Adjustments and Fine-Tuning
As you test your button assignments, you may find that some adjustments are necessary. Return to the 'Controls' section to reassign buttons or fine-tune your settings. 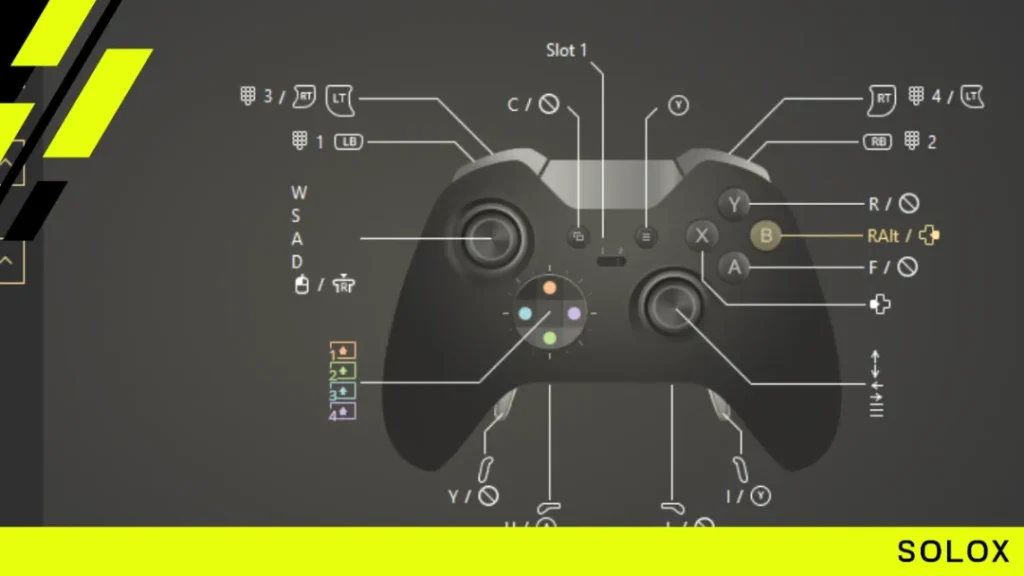 This process may take some trial and error to find the optimal configuration for your racing style.
Step 8: Continuing to Refine Your Setup
Remember that as your skills and preferences evolve, so too might your ideal button configuration. Regularly review and update your button assignments to ensure they align with your current racing needs and preferences. Assigning buttons in iRacing is a straightforward process that can significantly enhance your racing experience. By following these steps, you can customize your controls to match your personal preferences, leading to a more comfortable and efficient driving experience. Whether you're a beginner or an experienced racer, taking the time to tailor your button assignments is a valuable investment in your iRacing journey.