
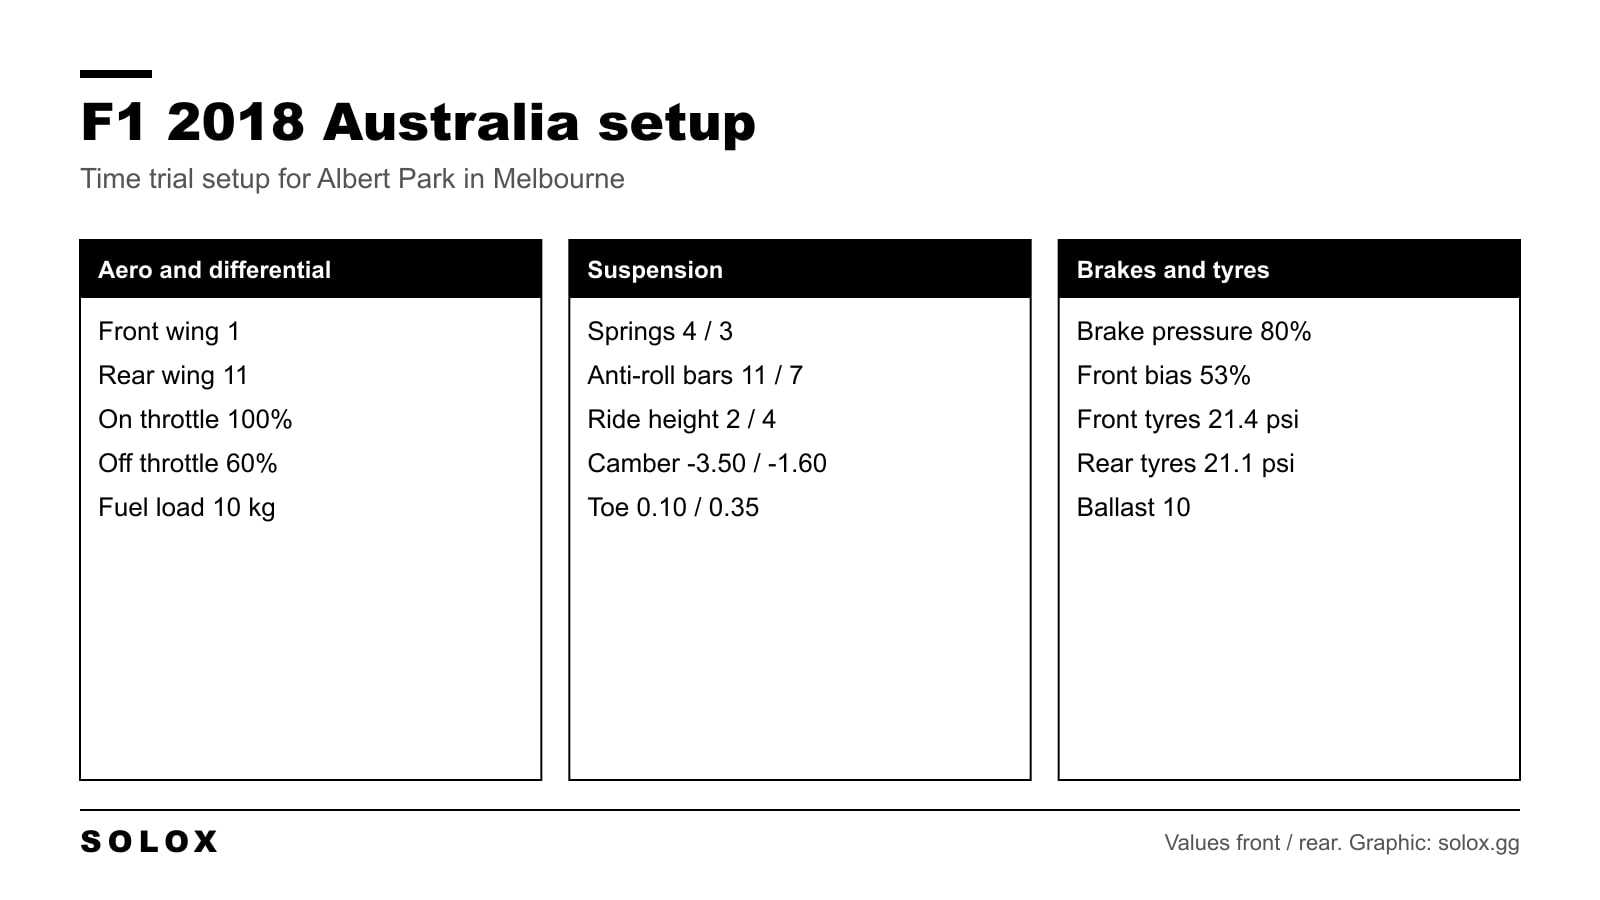
This is the F1 2018 setup for Australia on this site: front wing 1, rear wing 11, soft springs and a lot of front camber. It is a time trial setup, saved with 10 kg of fuel. The full menu is in the table below, then I explain why it works at Albert Park and what I would change for a race or for a pad.
It was collected in 2022 from a fast time trial lap, like the rest of my F1 2018 setups. It is an extreme one, so read the part on the wings before you copy it.
F1 2018 Australia setup
| Setting | Value |
|---|---|
| Fuel load | 10 kg |
| Front wing | 1 |
| Rear wing | 11 |
| Differential on throttle | 100% |
| Differential off throttle | 60% |
| Front camber | -3.50 |
| Rear camber | -1.60 |
| Front toe | 0.10 |
| Rear toe | 0.35 |
| Front suspension | 4 |
| Rear suspension | 3 |
| Front anti-roll bar | 11 |
| Rear anti-roll bar | 7 |
| Front ride height | 2 |
| Rear ride height | 4 |
| Brake pressure | 80% |
| Front brake bias | 53% |
| Front tyre pressure | 21.4 psi |
| Rear tyre pressure | 21.1 psi |
| Ballast | 10 |

An onboard lap of Melbourne in F1 2018
Watch how little the rear of the car moves. That is the rear wing at work.
Why this setup works in Melbourne
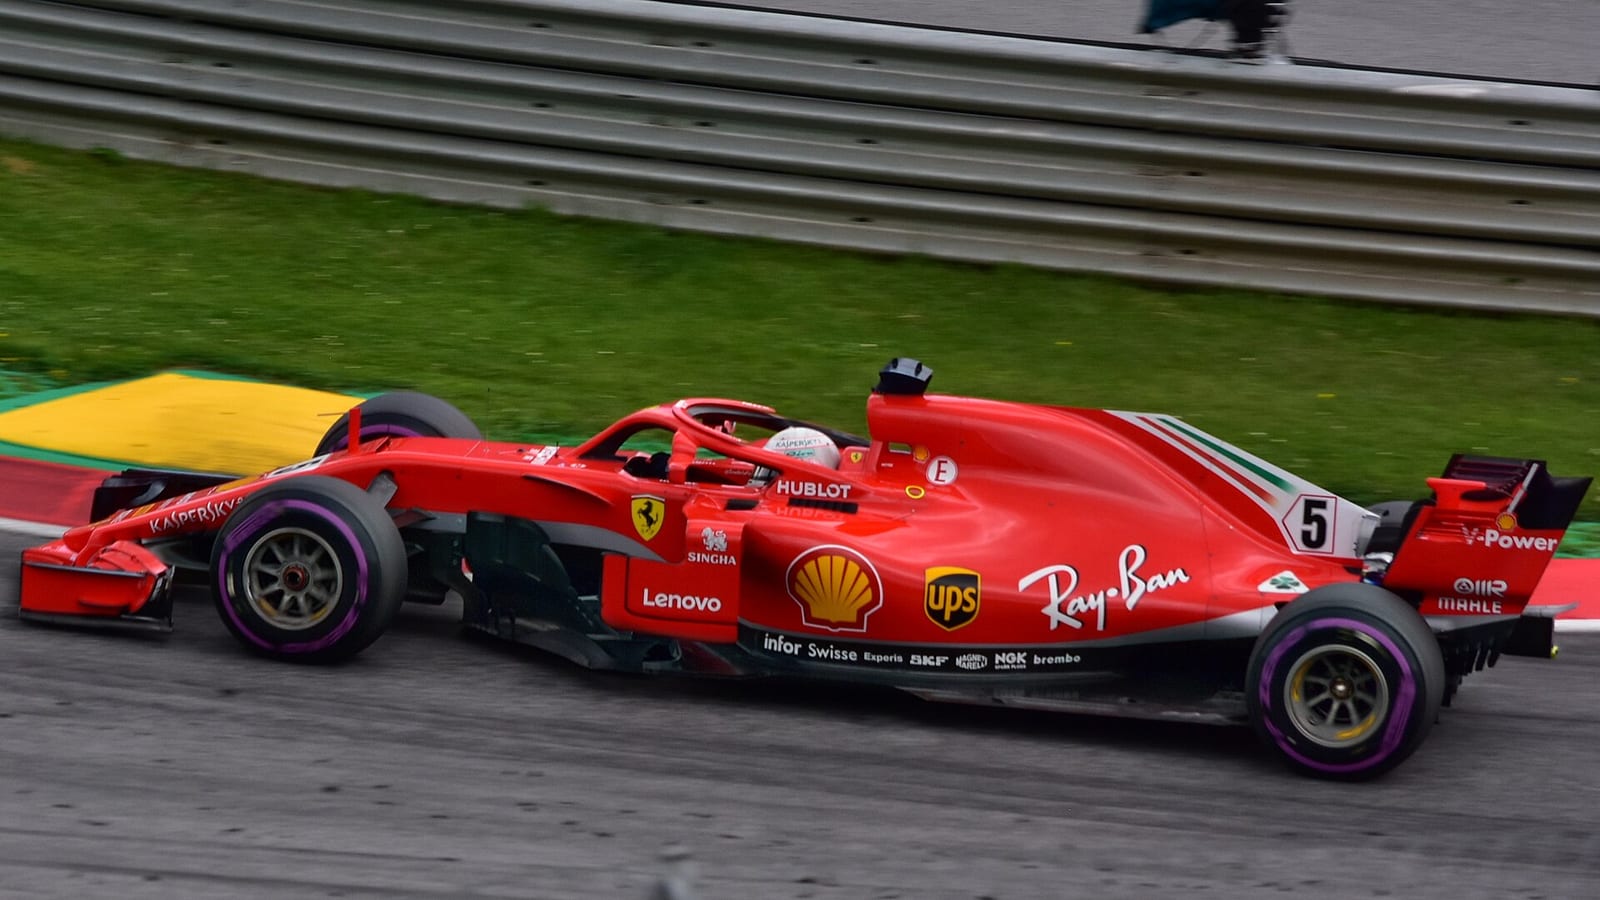
Albert Park in F1 2018 is the old layout: 5.303 km and 16 corners on park roads around a lake. No really long straight, a lot of medium speed corners, and walls close to the track. You are never at full throttle for long, so a big rear wing costs less here than at most tracks.
That is why the rear wing is at 11, the maximum. The rear is planted in every traction zone and in the fast chicane at turn 11 and turn 12. The front wing at 1 keeps the drag down a little and, more than that, it makes sure the rear always has more grip than the front. The car will never snap on you.
The price is understeer. With that wing gap, the nose does not want to turn. So the rest of the setup is built to give the front its grip back without touching the wing:
- Front camber at -3.50. The most the menu allows. The outside front tyre has more grip in the middle of the corner.
- Front ride height 2, rear 4. The nose is lower than the rear, which puts more load on the front.
- Off throttle differential at 60%. When you lift, the rear wheels are free to turn at different speeds, and the car rotates into the corner.
- Rear toe at 0.35. More than the minimum, for stability on the way out.
Soft springs, stiff front bar
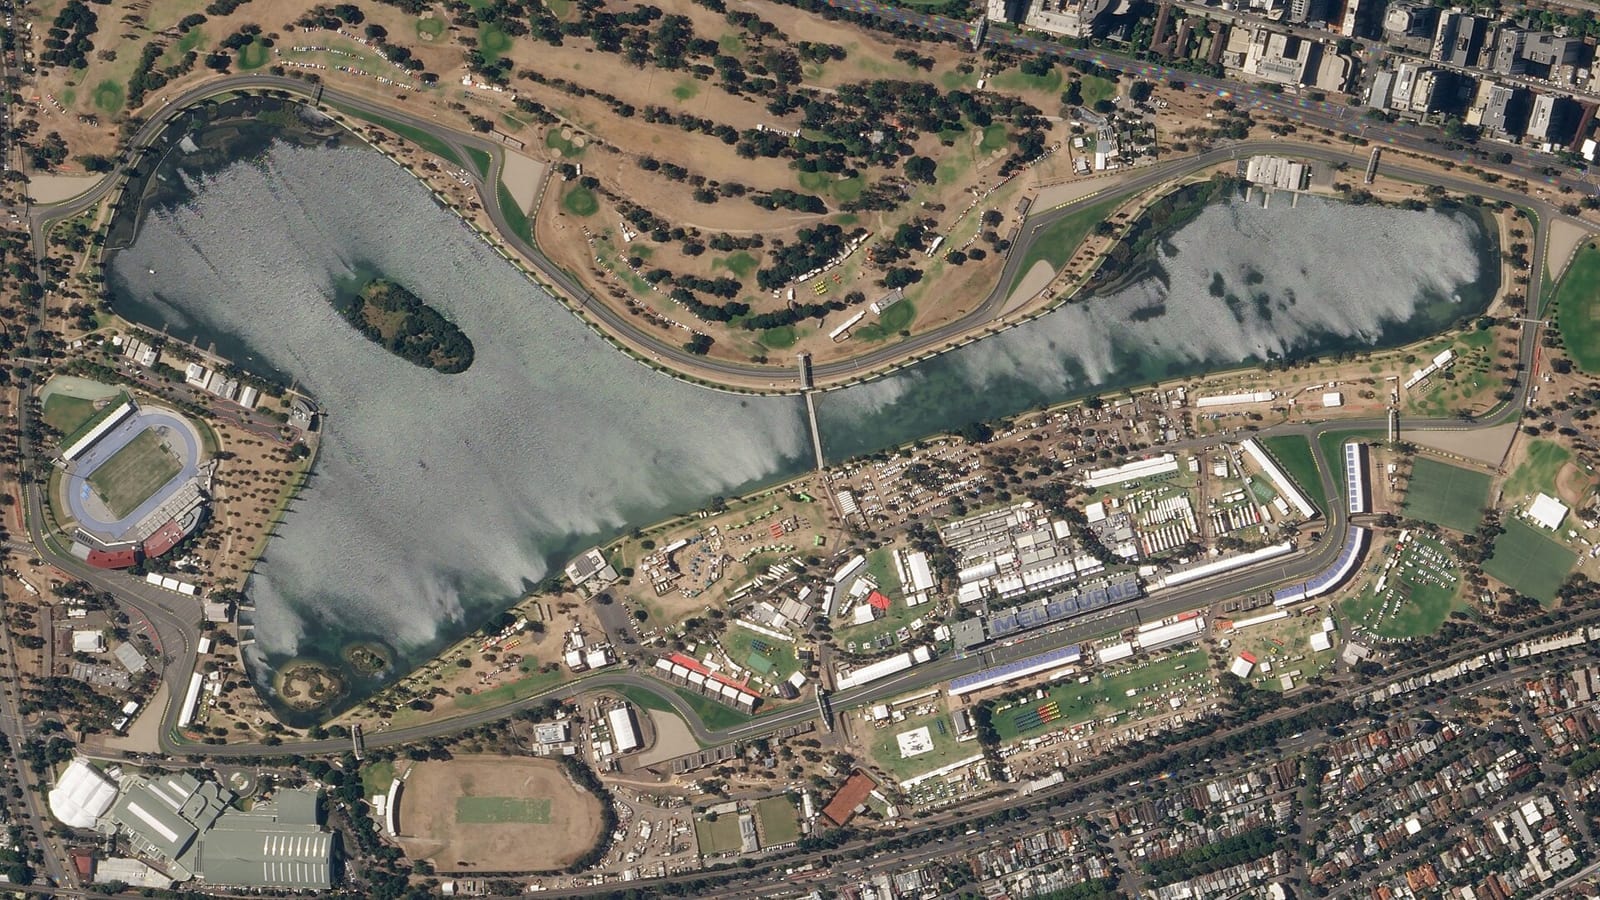
The springs are soft at both ends, 4 at the front and 3 at the rear. Albert Park is a street track for most of the year. It is bumpy, and you use the kerbs in nearly every corner. Soft springs let the car ride over them.
The front anti-roll bar is the opposite: 11, the firmest. The rear is at 7. A stiff front bar makes the car answer fast in the changes of direction, at turn 1 and turn 2, and at turn 11 and turn 12. It also adds a bit more understeer, on a car that already has plenty. If I had to change one thing on this setup to make it turn, it would be this bar.
What to change
One change at a time, three laps, then decide.
| Problem | Change |
|---|---|
| The car pushes wide in turn 11 and turn 12 | Front wing from 1 to 3 |
| Still understeer in the slow corners | Front anti-roll bar from 11 to 8 |
| Too slow on the straights | Rear wing from 11 to 9 |
| Wheelspin out of turn 3, turn 9 or turn 15 | On throttle differential from 100% to 85% |
| The rear moves when you lift | Off throttle differential from 60% to 70% |
| Front tyres lock into turn 1 or turn 3 | Brake pressure from 80% to 76% |
| The front tyres overheat after a few laps | Front camber from -3.50 to -3.00 |
For a race. I would not race with 1 and 11. The front tyres do all the turning with no help from the wing, and with full camber they wear fast. Go to front wing 4 and rear wing 9, take the front camber back to -3.00 and lower the on throttle differential to 80%. The car is a little less stable and a lot kinder to its tyres.
On a pad. The stable rear is a good thing on a stick, so keep the rear wing. Raise the front wing to 3 so you do not have to hold full lock, and lower the on throttle differential to 75%.
Where the lap time is in Melbourne
Turn 1 and turn 2. A fast right and left at the end of the main straight. Brake late and short, turn in once, and let the car run to the exit kerb of turn 2. The wall on the outside is close.
Turn 3. The biggest braking zone of the lap and the best place to overtake. Brake in a straight line. The exit matters more than the entry, because turn 4 comes at once.
Turn 6. A quick right between the walls. You need a short brake and a lot of trust. The setup helps here: the rear will not step out.
Turn 9 and turn 10. A slow right and left chicane. Easy to overdrive. Go in slow, use the kerbs, and get on the throttle early for the fastest part of the track.
Turn 11 and turn 12. The fast left and right. This is where the lap is won or lost. With this setup you will feel the front push in turn 11. Lift a little before the corner, not in it, and keep the steering smooth. If you turn more, you only slide more.
Turn 13. A hard stop after the fast section. The car arrives with a lot of speed and the track is bumpy on the brakes.
Turn 15 and turn 16. A slow left and then the right onto the main straight. Be patient in turn 15. A clean exit from turn 16 is worth more than anything you can gain on entry.
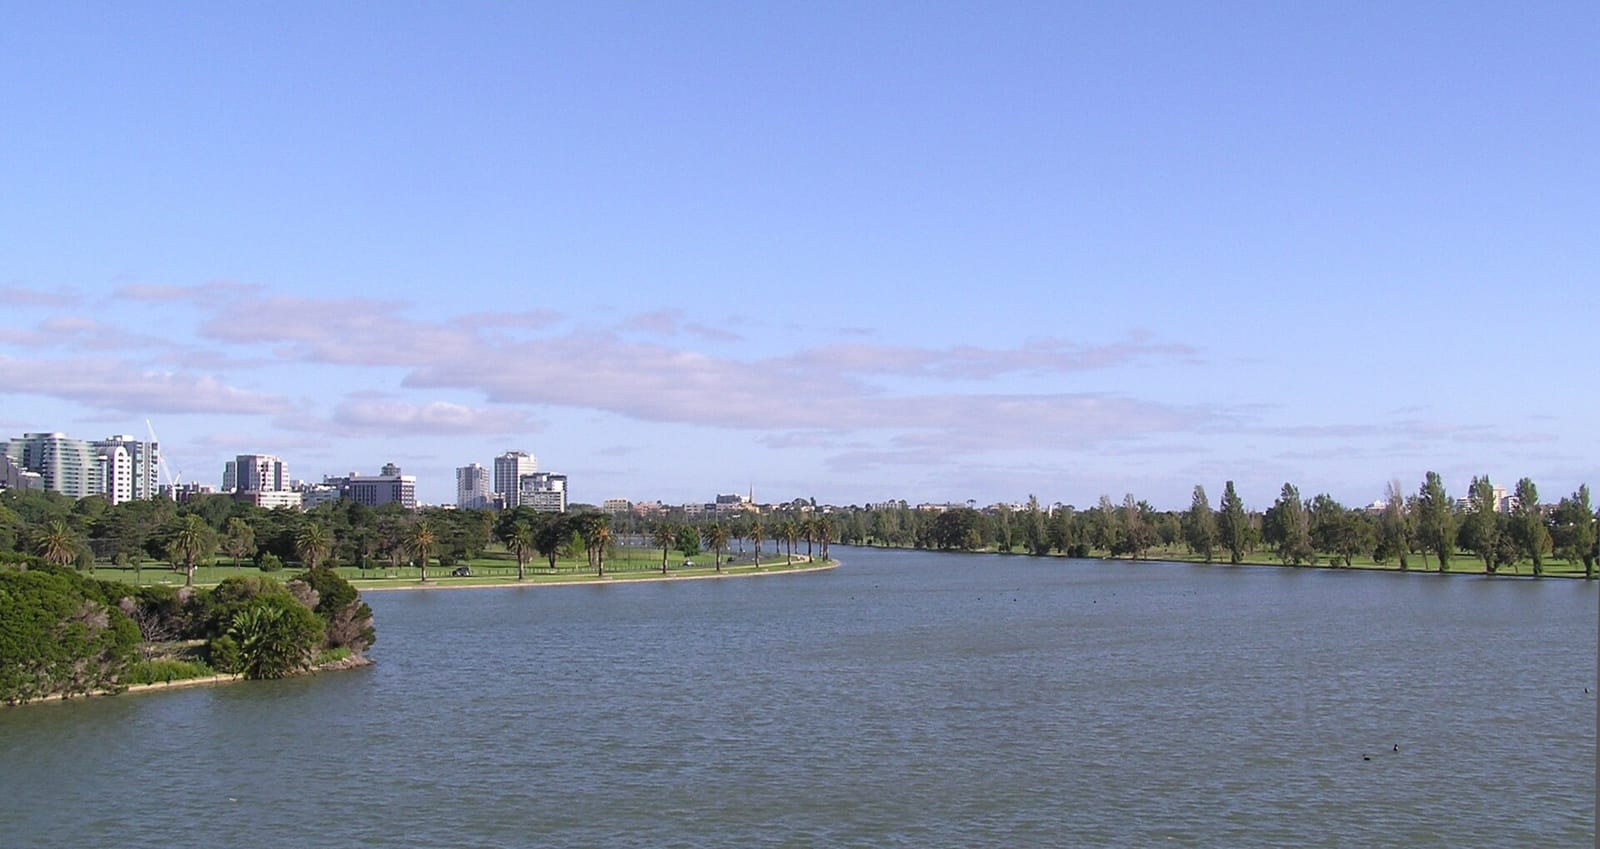
Melbourne in 2018
Lewis Hamilton took pole position for the 2018 Australian Grand Prix with a 1:21.164. Sebastian Vettel won the race, over 58 laps, after he made his stop under the virtual safety car on lap 26 and came out in front. Hamilton finished second and Kimi Raikkonen third.
More F1 2018 setups
Australia is the first round of the 2018 calendar. Next comes the Bahrain setup, which keeps the front wing at 1 and drops the rear to 8, and then the China setup. All the tracks are on the F1 2018 setups page.
If you play the current game, the track has changed since. The slow chicane at turn 9 and turn 10 is gone. See my F1 25 Australia setup.
FAQ
What is the best F1 2018 setup for Australia?
Front wing 1, rear wing 11, differential 100% on throttle and 60% off, suspension 4 and 3, anti-roll bars 11 and 7, ride height 2 and 4, brake pressure 80% with 53% front bias, and tyres at 21.4 and 21.1 psi.
What wing levels should I run in Melbourne in F1 2018?
1 at the front and 11 at the rear for time trial with this setup. For a race I would run 4 and 9, so the front tyres last.
Can I use this Australia setup in a race?
Yes, with a few changes. It is saved with 10 kg of fuel. Bring the wings to 4 and 9, take the front camber to -3.00 and lower the on throttle differential to 80%.
Does this setup work with a controller?
It does. The rear is very stable, which helps on a pad. Raise the front wing to 3 and lower the on throttle differential to 75%.
Why does the car understeer with this setup?
Because the front wing is at the minimum and the rear wing at the maximum. Add front wing, or soften the front anti-roll bar from 11 to 8.
Where do I lose the most time in Melbourne?
Usually in the fast chicane at turn 11 and turn 12, by turning in too fast, and on the exit of turn 16 before the main straight.