
WheelCheck does one thing that matters for iRacing: it measures how much force your wheel needs before it starts to move. That number is your Min Force setting. The test takes a few seconds.
Below is how to run it, how to read the result, and when I would not bother with it at all.
One note first. WheelCheck is an old community tool with no manual. The steps here come from community guides and from a reply written by an iRacing developer, and I say which is which. Where I give an opinion, I mark it as mine.
What WheelCheck is
WheelCheck is a small Windows program. Its window is titled "iRacing Force Feedback test". Community guides credit it to David Tucker of iRacing, the developer behind the sim's force feedback.
It does not change anything in iRacing. It sends test forces to your wheel, watches how far the wheel moves, and tells you the result. You then type the number into the sim yourself.
It has two tests people use:
| Test | What it measures | Used for |
|---|---|---|
| Min Force | The smallest force that moves your wheel | The Min Force setting in iRacing |
| Step Log 2 (linear force test) | How far the wheel moves at each force step, low to high | Linearity files for other sims, such as a LUT for Assetto Corsa |
For iRacing you only need the first one.
Why Min Force exists
Gear and belt wheels have friction inside. Small forces from the sim do not get past it, so the wheel feels empty around the centre. You lose the small stuff: light kerbs, the first hint of the front washing out.
The iRacing developer explained it in a 2015 reply on the iRacing Steam forum, signed David. His explanation: Min Force tries to correct a flaw in some wheels that do not react to force feedback commands until the force goes above a minimum. He named the Logitech G27 as the wheel that needs it most, at 10% to 20%.
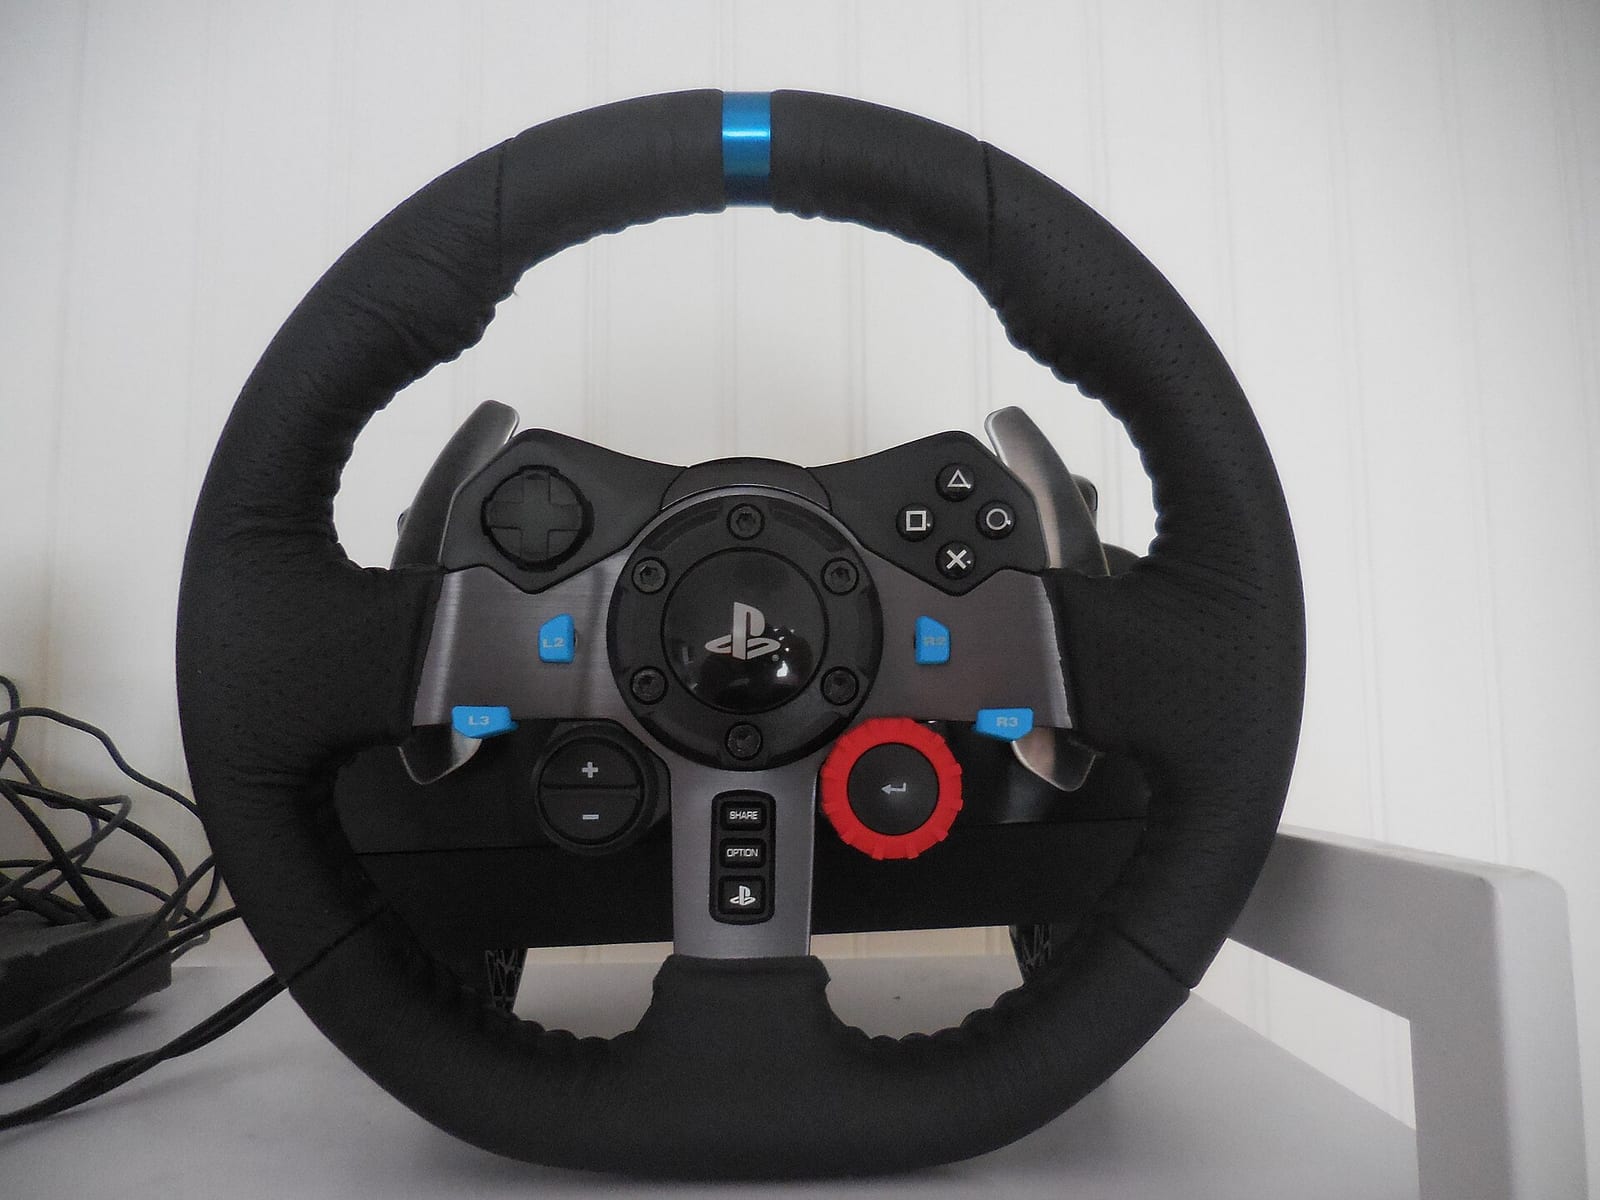
Set it too low and the centre stays dead. Set it too high and the wheel chatters by itself on the straights. WheelCheck finds the point in between.
Where to get WheelCheck
Community guides point to the iRacing member forums as the place where it was shared. That is the source I would use. Log in to the forums and search for WheelCheck.
I could not find a public download page on iracing.com or on iRacing's support site on 8 October 2026, and I cannot see behind the forum login, so I will not link a file here. Plenty of other sites host copies. I would not run an .exe from a mirror I do not know when the original sits in the official forum.
Before you run the test
- Close iRacing. This one is my advice, so two programs are not sending forces to the wheel at once.
- Leave the wheel driver at its defaults. The developer's reply says to keep the driver forces at 100% and change only the rotation. If you measure with one driver strength and race with another, the number is wrong.
- Take your hands off the wheel and keep them off. The wheel moves by itself during the test.
- Clear the space around the rim. Cables, a headset on the wheel, your knees.
On a direct drive base, be careful with any tool that moves the wheel by itself. More on that below, but the short version is that you do not need this test on direct drive.
How to run the Min Force test
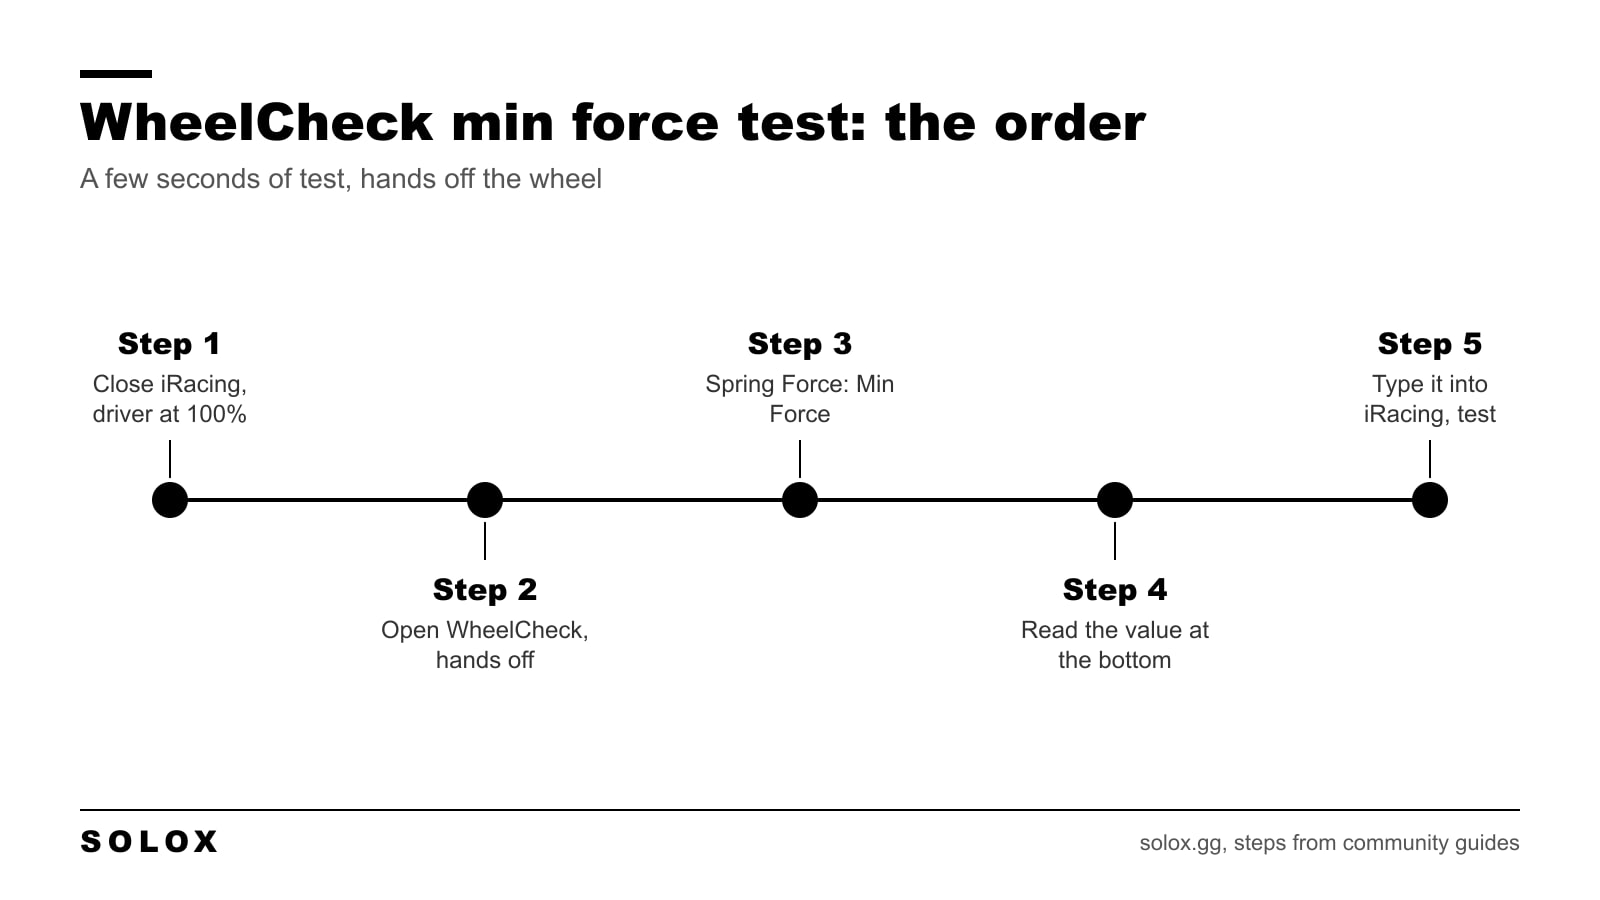
The steps below are the ones given by Sim Racing Coach and by users on the Steam forums.
- Open WheelCheck.
- Find the Spring Force dropdown.
- Choose Min Force in that dropdown.
- Hands off. Wait a few seconds while the test runs.
- Read the value that appears at the bottom of the window. Users on Steam describe the line as the maximum value for steeringFFBBaseOffset, followed by the number.
Two tips from the same forum threads, not from iRacing:
- Raise Max Count from the default 50 to 200 before you start. The user who suggests it says it is a good idea, without giving a reason. My guess is that more samples give a steadier number.
- Run the test a few times and take the average. The value moves a little from run to run.
How to turn the result into Min Force
This part is simple.
- If the tool shows a percent, that is your Min Force. 14.5% means 14.5%.
- If it shows a decimal, multiply by 100. A result of 0.05 is 5%. A result of 0.145 is 14.5%.
Then put it in the sim. Min Force sits with the other wheel force feedback settings in the sim's options. iRacing moved some of them to a new page in 2026, and I cover where to look in my iRacing FFB and Haptics settings guide.
What I would do next is drive a straight at speed with a light grip on the wheel. If the wheel chatters or buzzes by itself, the number is too high. Take 1% off and try again. One user on Steam measured 14.5% and ran 13.5% to leave some margin. I think that is a sensible habit.
What numbers to expect
I have not measured these myself. They are what the sources report.
| Wheel | Reported Min Force | Source |
|---|---|---|
| Logitech G27 | 10% to 20% | iRacing developer reply, Steam, 2015 |
| Logitech G27 | 13%, 14.5%, 16% | Three owners with WheelCheck results, Steam |
| Direct drive | 0% | See the next section |
Three G27 owners, three different numbers. That is the argument for measuring your own wheel instead of copying a value from a forum.
For current wheels I keep the per-brand values in separate guides: iRacing G29 and G920 settings and iRacing Thrustmaster settings.
Do you need it on a direct drive wheel?
No.
A direct drive base has no gears and no belt between the motor and the rim, so there is very little friction for Min Force to overcome. Min Force stays at 0%. One Simucube 2 owner on the Granite Devices forum ran the test and kept getting a result of -0.5, which tells you the same thing: there is nothing to correct.
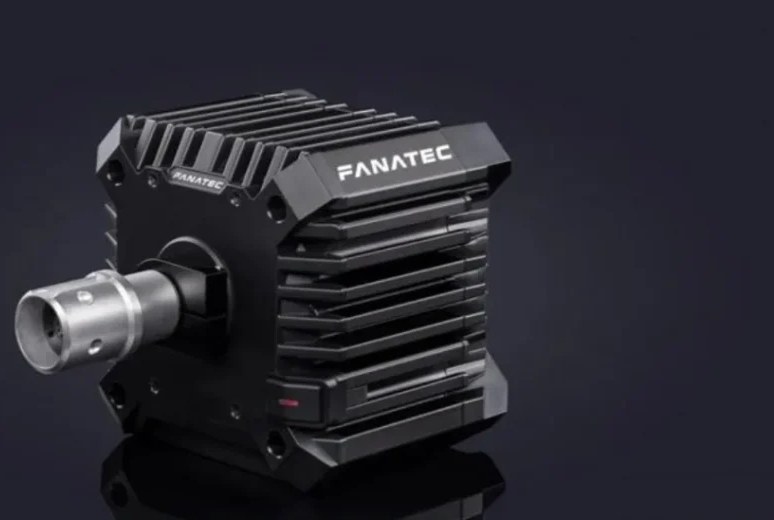
On direct drive the settings that matter are Wheel Force, linear mode and strength. Those are in my iRacing wheel FFB settings guide.
The linear force test
The second test is Step Log 2 (linear force test). A French guide on racingfr.net describes it: when the wheel stops, a file named like "log2" with the date and time is saved as a .csv in your Documents folder, and the deltaXDeg column holds the numbers you work with.
Be careful here. The same guide warns that the wheel turns by itself, harder and harder, as the test goes on. Hands off, space clear.
People use that log to build a correction file for sims that accept one, for example with the LUT Generator for Assetto Corsa. I could not find any place in iRacing that loads such a file. In iRacing the two tools for a non-linear wheel are Min Force and the linear mode checkbox, so for iRacing alone you can skip this test.
Is WheelCheck worth it?
My view: it is a nice extra, not a must.
The developer's own reply says the same. His simple method is to try 10%, then go to 5% or 20% depending on whether the wheel chatters, and move back and forth until you are close. He wrote that you can use the tool to find the exact number, but that getting within 5% of the right value is probably good enough.
So this is how I would decide:
- Direct drive: skip it. Min Force 0%.
- Belt wheel that already feels alive around the centre: skip it, or use the chatter method.
- Gear wheel with an empty centre: run it. It costs a few seconds and you stop guessing.
Remember too that iRacing's defaults are good. In that same reply the developer said the defaults are correct about 95% of the time. If the wheel feels wrong, check the calibration and the strength before you blame Min Force.
FAQ
What is iRacing WheelCheck?
A small Windows tool, credited to iRacing developer David Tucker, that sends test forces to your wheel. Its main use is to measure the Min Force value for iRacing. Its window is titled "iRacing Force Feedback test".
How do I find my Min Force with WheelCheck?
Open WheelCheck, set the Spring Force dropdown to Min Force, keep your hands off the wheel and wait a few seconds. Read the value at the bottom. A percent goes straight into iRacing. A decimal is multiplied by 100.
Where do I download WheelCheck?
Community guides point to the iRacing member forums. I found no public download page on iracing.com or the iRacing support site on 8 October 2026, and I do not link third-party copies.
What is a good Min Force for a Logitech G27?
The iRacing developer wrote 10% to 20% for the G27. Owners who ran WheelCheck report 13% to 16%. Each wheel is a little different, so measure yours or use the chatter method.
Do direct drive wheels need Min Force?
No. A direct drive base has very little internal friction, so Min Force stays at 0% and there is nothing for WheelCheck to correct.
What happens if Min Force is too high?
The wheel chatters or buzzes on the straights when it should be quiet. Take it down by 1% at a time until it stops.
Does WheelCheck change my iRacing settings?
No. It only tests the wheel and shows a number. You type the value into the Min Force setting yourself.