
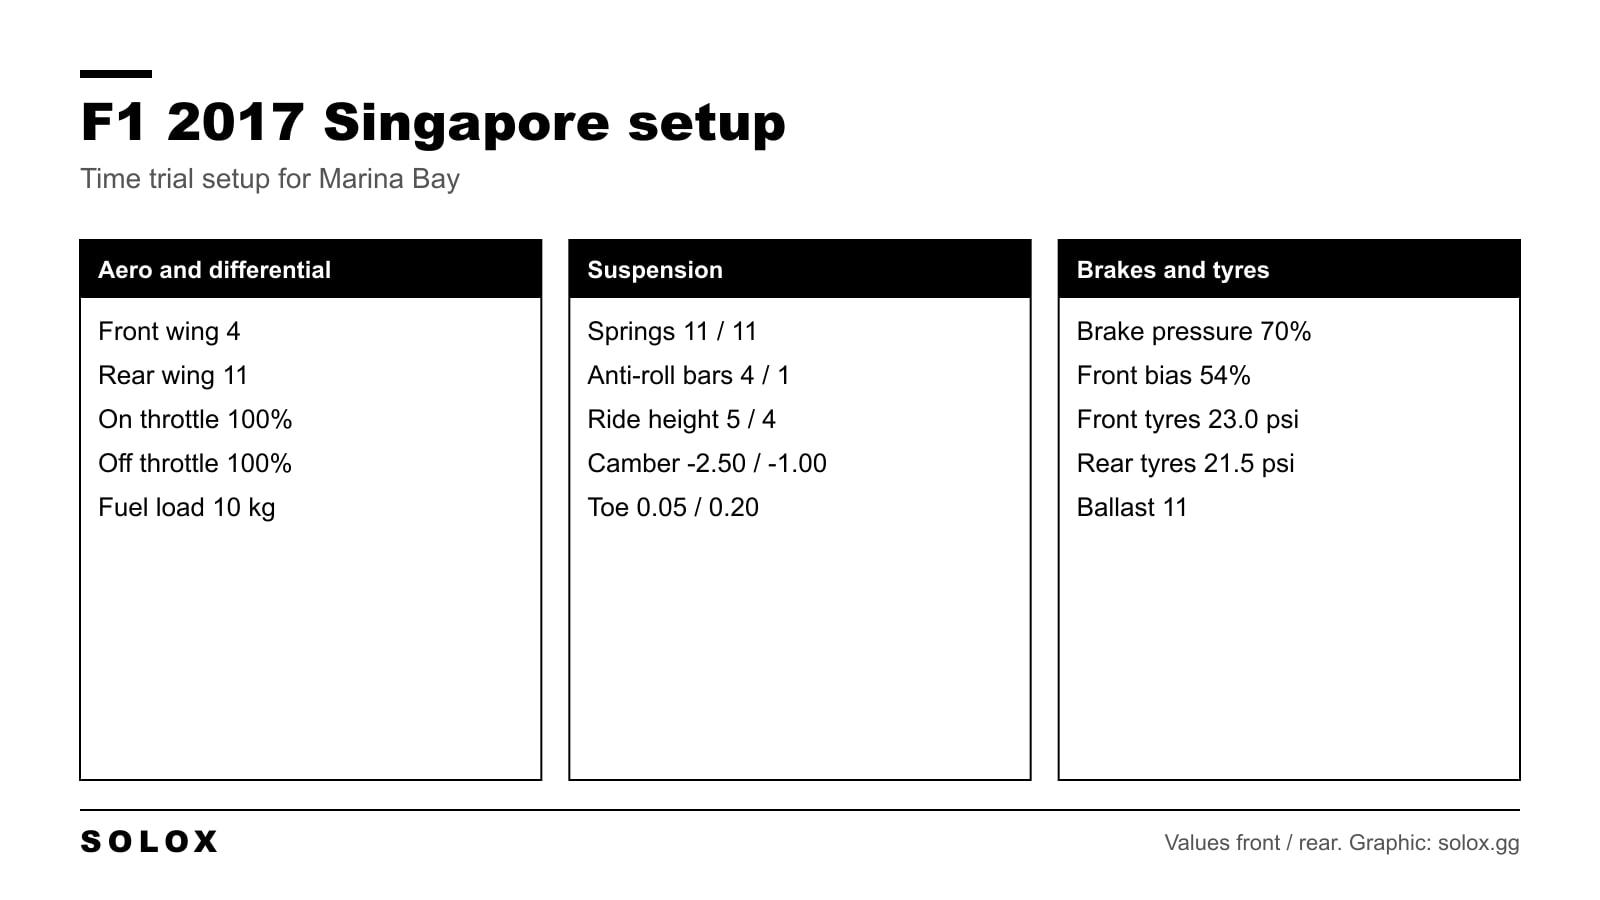
This is the F1 2017 setup for Singapore on this site: front wing 4, rear wing 11, the differential locked at 100% both ways and the springs at 11 front and rear. It is a time trial setup, saved with 10 kg of fuel. The full menu is in the table below, then I explain why it works at Marina Bay and what I would change for a race or for a pad.
It was collected in 2022 from a fast time trial lap, like the rest of my F1 2017 setups. It is also the oddest one in the list, so read the notes before you copy it.
F1 2017 Singapore setup
| Setting | Value |
|---|---|
| Fuel load | 10 kg |
| Front wing | 4 |
| Rear wing | 11 |
| Differential on throttle | 100% |
| Differential off throttle | 100% |
| Front camber | -2.50 |
| Rear camber | -1.00 |
| Front toe | 0.05 |
| Rear toe | 0.20 |
| Front suspension | 11 |
| Rear suspension | 11 |
| Front anti-roll bar | 4 |
| Rear anti-roll bar | 1 |
| Front ride height | 5 |
| Rear ride height | 4 |
| Brake pressure | 70% |
| Front brake bias | 54% |
| Front tyre pressure | 23.0 psi |
| Rear tyre pressure | 21.5 psi |
| Ballast | 11 |

Why this setup works at Marina Bay
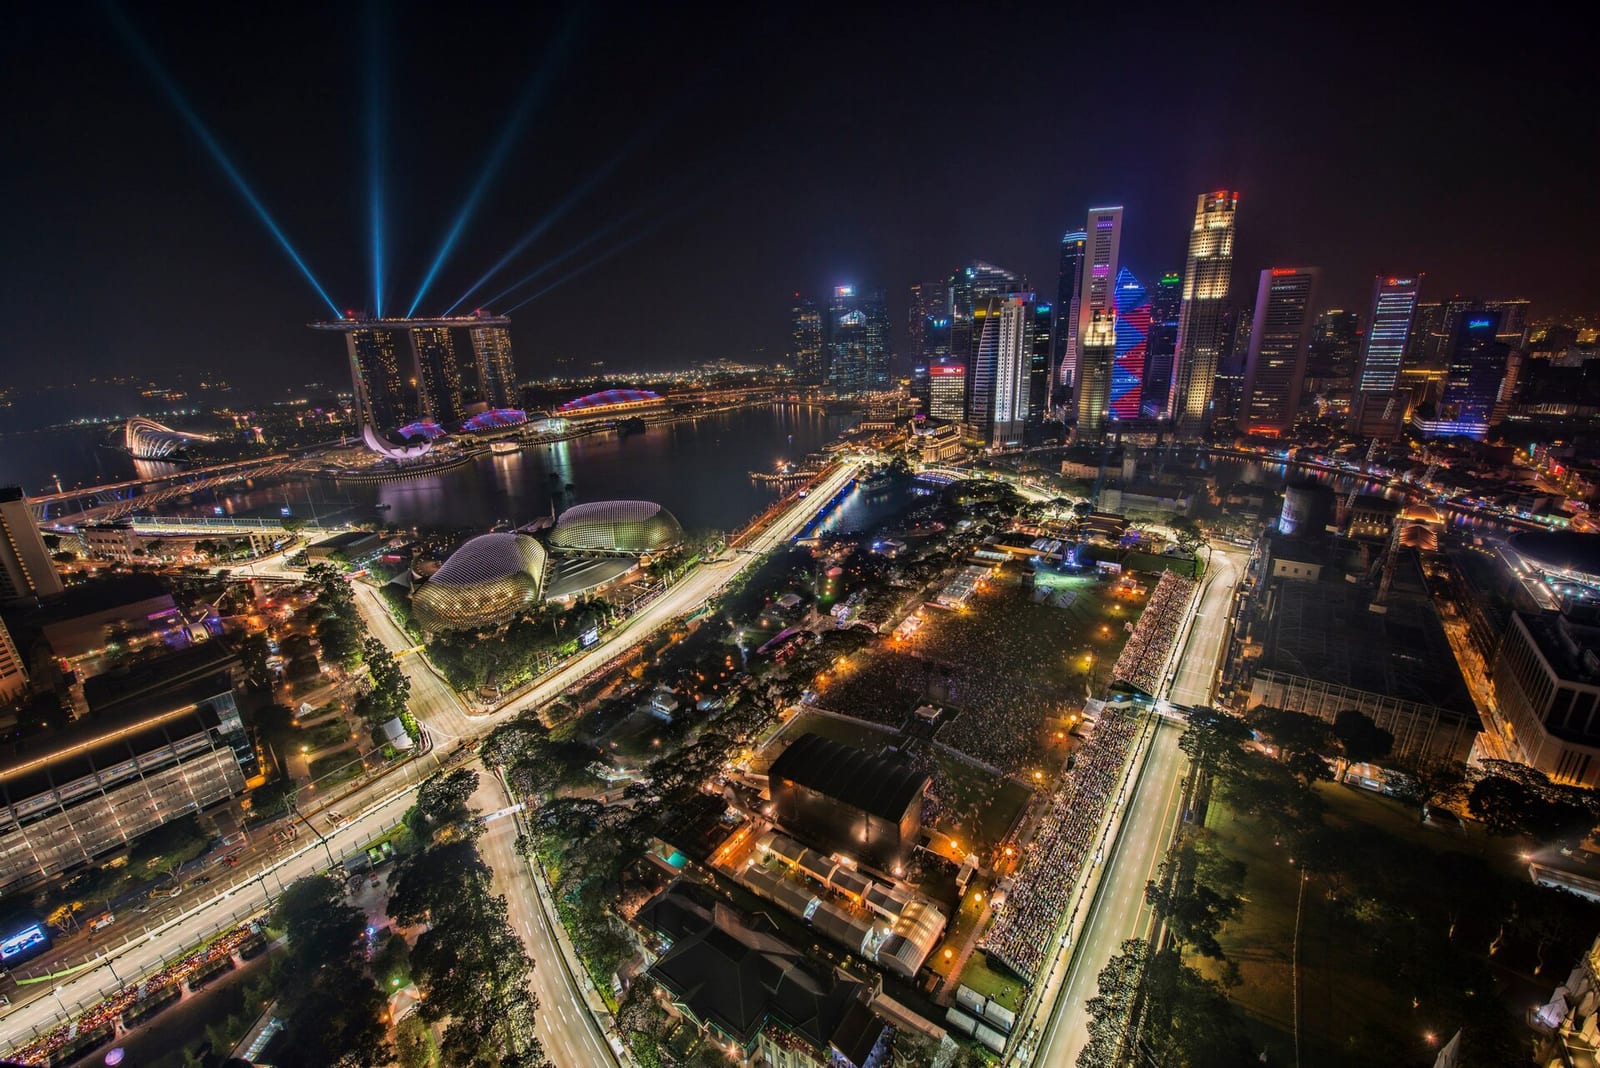
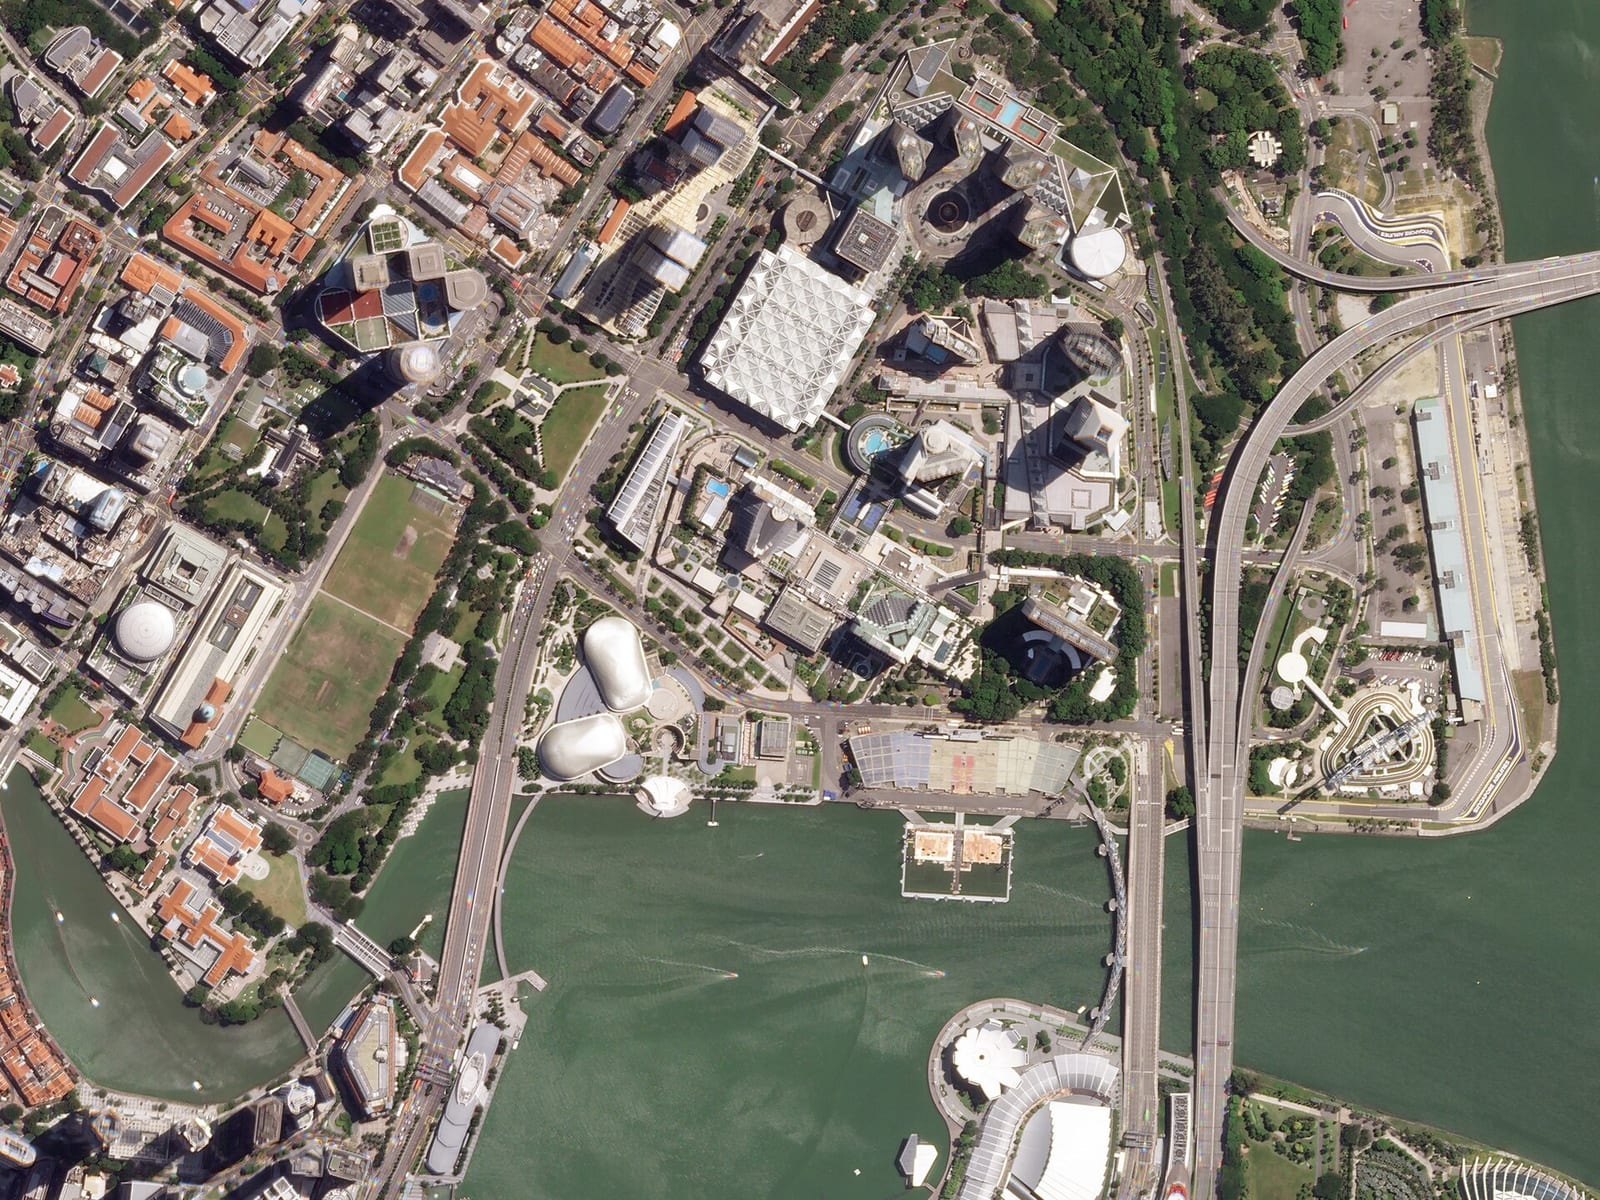
Marina Bay in 2017 is 5.065 km and 23 corners, most of them slow and at 90 degrees, with walls on both sides. The lap is brake, turn, throttle, 23 times. So the lap time is in two places: how late you brake and how early you can go flat on the exit.
This setup picks the exit. Look at where everything points:
- Rear wing 11. Maximum load on the rear tyres.
- Ballast 11. The weight is as far back as the game allows.
- Rear anti-roll bar 1. The softest rear you can have, so both rear tyres stay on the road when you go to the throttle.
- Differential 100% on throttle. Both rear wheels push together.
The car is built to put the power down. The 2017 cars have a lot of torque, so in time trial this is where you find tenths.
The front wing at 4
This is the part that looks wrong. Every other high downforce track in my 2017 list has a front wing close to the rear. Hungary and Monaco run 11 and 11. Here the front is at 4.
On paper that is a car with understeer. The setup gets the front back in other ways. The front anti-roll bar at 4 is soft, so the front tyres grip well at low speed, where the wing does little anyway. And a locked differential on the way in keeps the rear calm on the brakes, so you can brake very late and deep into the corner.
My honest view: it is a setup made for one driver on one lap. If you turn in and the car goes straight, do not fight it. Go to front wing 6 or 7. You lose almost nothing on the straights here and the car becomes much easier.
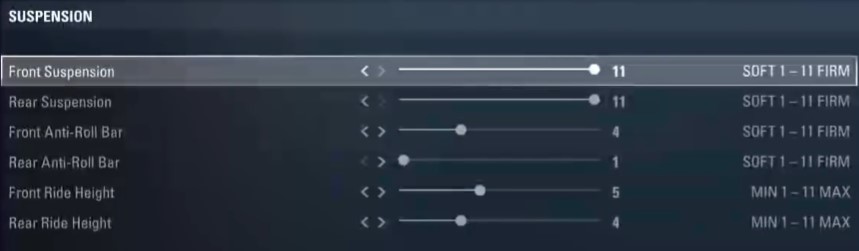
Springs at 11, anti-roll bars at 4 and 1
Stiff springs on a street circuit sound like a mistake too. The reason is the platform. Stiff springs stop the car from diving on the brakes and squatting on the throttle, so the ride height stays constant and the floor keeps working. You can then run the rear at 4, lower than the front.
The soft anti-roll bars do the other job. They let the car roll in the corner and keep the tyres in contact with the road. So the car is stiff in a straight line and soft from side to side.
The price is the kerbs. With springs at 11 the car jumps if you take too much kerb, so stay off the tall ones at the chicanes.
Brakes
Brake pressure is 70% with 54% at the front. Low pressure, because the lap has many braking zones and most of them are short, with a wall waiting if you lock a front. With ABS on you can raise it to 80%.
The bias at 54% is quite far back. It helps the car turn on the brakes, which this setup needs with so little front wing. If the rear moves under braking, go to 56%.
What to change
One change at a time, three laps, then decide.
| Problem | Change |
|---|---|
| The car does not turn in | Front wing from 4 to 6 |
| Understeer in the middle of slow corners | Off throttle differential from 100% to 80% |
| The rear snaps on the exit | On throttle differential from 100% to 80% |
| The car jumps on kerbs and bumps | Springs from 11 to 8 at both ends |
| Front tyres lock | Brake pressure from 70% to 66% |
| The rear moves under braking | Front brake bias from 54% to 56% |
| The floor hits the road on the bumps | Rear ride height from 4 to 5 |
For a race. I would not race this as it is. A locked differential over a full distance at Singapore overheats the rear tyres, and the walls punish every small slide. Go to 75% on throttle and 80% off, front wing 7, springs 8 and 8. You lose a little over one lap and the car is still in one piece at the end.
On a pad. Front wing 7, on throttle differential 65%. With a trigger it is hard to be precise on the throttle out of 23 slow corners, and an open differential forgives much more.
Where the lap time is at Marina Bay
Turn 1 to Turn 3. Hard braking into a left, right, left. Give up the first apex a little so the car is straight for the exit of Turn 3. A good exit here is worth the whole run to Turn 5.
Turn 5. A 90 degree right onto the longest flat out section of the lap. Exit matters more than entry. Do not touch the wall on the outside.
Turn 7. The biggest stop of the lap, at the end of that fast section. This is the main overtaking place in a race. Brake in a straight line and turn in late.
Turn 10. A left that leads into Turn 11 and Turn 12 and onto the bridge. Keep the car settled, the stiff springs do not like this part.
Turn 13. The hairpin after the bridge. Slowest corner of the lap. Rotate the car early and think only about traction.
Turn 14. Another big stop into a 90 degree right. Easy to lock the inside front. This is where the low brake pressure helps.
Turn 16 to Turn 19. Tight, close walls, the section that goes under the grandstand. Be neat, not brave. Every corner here sets up the next one.
Turn 20 and Turn 21. Right then left, and the exit of Turn 21 decides your speed for the last part.
Turn 22 and Turn 23. The fast double left onto the pit straight. With rear wing 11 the car is stable here. Carry speed and use all the road on the exit.
Singapore in 2017
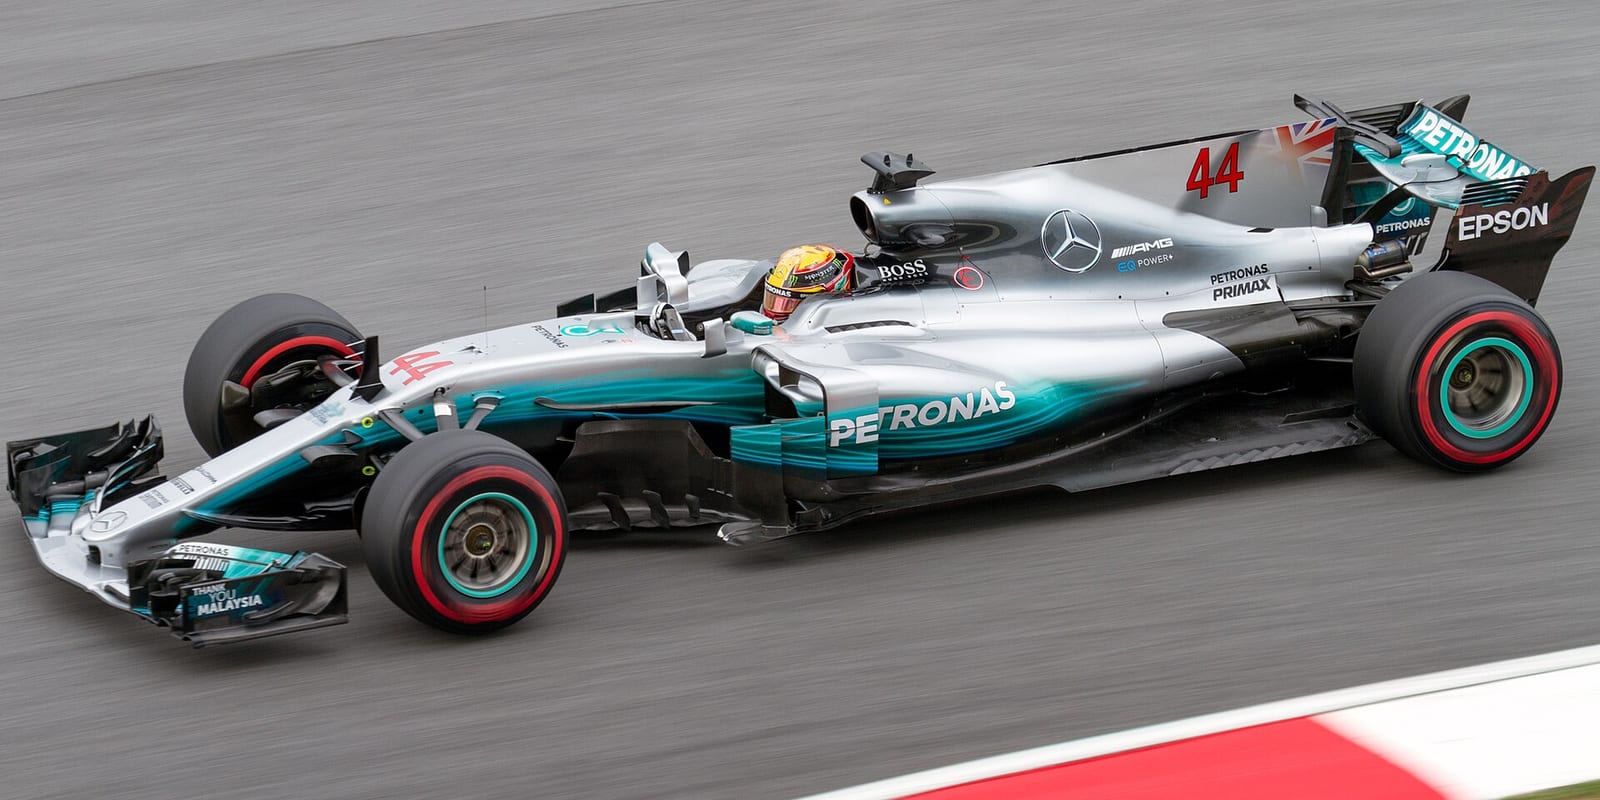
Sebastian Vettel took pole position for the 2017 Singapore Grand Prix with a 1:39.491. The race started on a wet track, and on the first lap Vettel, Max Verstappen and Kimi Räikkönen collided. Lewis Hamilton took the lead and won for Mercedes, with Daniel Ricciardo second for Red Bull and Valtteri Bottas third. The race ran 58 of the 61 scheduled laps. Hamilton also set the fastest lap, a 1:45.008 on lap 55.
More F1 2017 setups
Singapore comes right after the lowest downforce track of the year, so compare it with the Monza setup at 3 and 1 on the wings. The next race is Sepang: the Malaysia setup keeps the springs at 11 and 11 too. All 20 tracks are in one table on the F1 2017 setups page.
If you play the current game, see my F1 25 Singapore setup.
FAQ
What is the best F1 2017 setup for Singapore?
For time trial: front wing 4, rear wing 11, differential 100% on and off throttle, springs 11 and 11, anti-roll bars 4 and 1, ride height 5 and 4, brake pressure 70% with 54% front bias, tyres at 23.0 and 21.5 psi, ballast 11.
Why is the front wing so low at Singapore?
The setup is built around rear grip and traction. The front grip comes from a soft front anti-roll bar. If the car does not turn for you, raise the front wing to 6 or 7.
Can I use this Singapore setup in a race?
Not as it is. The locked differential overheats the rear tyres. Run 75% on throttle, 80% off, front wing 7 and springs at 8 and 8.
Does this setup work with a controller?
With changes. Front wing 7 and on throttle differential at 65% make the car calmer out of slow corners.
Why are the springs at 11 on a street circuit?
To keep the car flat on the brakes and on the throttle, so the ride height stays constant. The soft anti-roll bars give the grip in the corners. Stay off the tall kerbs.
How long is Marina Bay in F1 2017?
5.065 km with 23 corners, the layout used for the 2017 Singapore Grand Prix.