
The best F1 2017 setup depends on the track, but most of the car stays the same from one circuit to the next. On 13 of the 20 tracks the camber is -2.50 at the front and -1.00 at the rear, with toe at 0.05 and 0.20. What changes is the wings, the suspension and the differential. The table below has the numbers for all 20 tracks, and every track name links to its own page with the full setup menu.
These setups were collected for this database in 2022 from fast time trial laps. I have not driven all 20 of them again since, so use them as a starting point and not as the last word. What I can add is how to read them and what to change when the car does not suit your hands.
F1 2017 setups for every track
Values are written front / rear. The differential column is on throttle / off throttle. In F1 2017 the wings, suspension, anti-roll bars, ride height and ballast all use a scale from 1 to 11.
| Track | Wings | Differential | Suspension | Anti-roll bars | Ride height | Ballast |
|---|---|---|---|---|---|---|
| Australia (Melbourne) | 5 / 7 | 100% / 80% | 7 / 6 | 9 / 4 | 5 / 5 | 10 |
| China (Shanghai) | 3 / 5 | 100% / 80% | 7 / 6 | 9 / 4 | 5 / 5 | 9 |
| Bahrain (Sakhir) | 3 / 5 | 100% / 80% | 7 / 6 | 9 / 4 | 5 / 5 | 10 |
| Russia (Sochi) | 4 / 3 | 80% / 70% | 8 / 6 | 8 / 6 | 6 / 4 | 8 |
| Spain (Barcelona) | 5 / 9 | 100% / 70% | 7 / 5 | 9 / 5 | 7 / 4 | 11 |
| Monaco | 11 / 11 | 100% / 80% | 8 / 7 | 10 / 3 | 5 / 5 | 8 |
| Canada (Montreal) | 4 / 7 | 100% / 80% | 8 / 7 | 10 / 3 | 5 / 5 | 10 |
| Azerbaijan (Baku) | 2 / 6 | 100% / 80% | 8 / 7 | 10 / 3 | 5 / 5 | 11 |
| Austria (Red Bull Ring) | 3 / 6 | 100% / 80% | 8 / 7 | 10 / 3 | 5 / 5 | 11 |
| Britain (Silverstone) | 2 / 6 | 100% / 80% | 8 / 7 | 10 / 3 | 5 / 5 | 10 |
| Hungary (Budapest) | 11 / 11 | 80% / 70% | 7 / 5 | 9 / 5 | 5 / 5 | 8 |
| Belgium (Spa) | 1 / 6 | 95% / 90% | 7 / 7 | 9 / 1 | 6 / 5 | 11 |
| Italy (Monza) | 3 / 1 | 100% / 75% | 11 / 4 | 6 / 4 | 6 / 4 | 7 |
| Singapore | 4 / 11 | 100% / 100% | 11 / 11 | 4 / 1 | 5 / 4 | 11 |
| Malaysia (Sepang) | 1 / 7 | 100% / 80% | 11 / 11 | 7 / 1 | 5 / 5 | 11 |
| Japan (Suzuka) | 2 / 8 | 100% / 100% | 6 / 6 | 8 / 8 | 5 / 5 | 10 |
| USA (Austin) | 3 / 10 | 90% / 80% | 11 / 8 | 11 / 8 | 6 / 4 | 9 |
| Mexico | 2 / 7 | 55% / 75% | 9 / 10 | 5 / 3 | 3 / 4 | 11 |
| Brazil (Interlagos) | 7 / 11 | 85% / 50% | 1 / 1 | 7 / 10 | 4 / 7 | 11 |
| Abu Dhabi (Yas Marina) | 7 / 11 | 85% / 50% | 1 / 1 | 7 / 10 | 4 / 7 | 9 |
Brakes, tyres and geometry
Same order as above. Tyre pressures are in psi, front / rear. Camber and toe are front / rear too.
| Track | Brake pressure | Front brake bias | Tyre pressures | Camber | Toe |
|---|---|---|---|---|---|
| Australia (Melbourne) | 82% | 54% | 23.0 / 21.1 | -2.50 / -1.00 | 0.05 / 0.20 |
| China (Shanghai) | 82% | 54% | 23.0 / 21.1 | -2.50 / -1.00 | 0.05 / 0.20 |
| Bahrain (Sakhir) | 82% | 54% | 23.0 / 21.1 | -2.50 / -1.00 | 0.05 / 0.20 |
| Russia (Sochi) | 82% | 57% | 23.8 / 22.3 | -2.50 / -1.10 | 0.09 / 0.32 |
| Spain (Barcelona) | 75% | 52% | 23.0 / 21.5 | -3.50 / -2.00 | 0.15 / 0.50 |
| Monaco | 78% | 52% | 22.2 / 20.3 | -2.50 / -1.00 | 0.05 / 0.20 |
| Canada (Montreal) | 82% | 54% | 23.0 / 21.1 | -2.50 / -1.00 | 0.05 / 0.20 |
| Azerbaijan (Baku) | 82% | 54% | 23.0 / 21.1 | -2.50 / -1.00 | 0.05 / 0.20 |
| Austria (Red Bull Ring) | 82% | 54% | 23.0 / 21.1 | -2.50 / -1.00 | 0.05 / 0.20 |
| Britain (Silverstone) | 82% | 54% | 23.0 / 21.1 | -2.50 / -1.00 | 0.05 / 0.20 |
| Hungary (Budapest) | 70% | 56% | 23.0 / 21.5 | -2.70 / -1.80 | 0.11 / 0.32 |
| Belgium (Spa) | 75% | 54% | 23.0 / 21.5 | -2.50 / -1.00 | 0.05 / 0.20 |
| Italy (Monza) | 96% | 57% | 21.8 / 19.5 | -2.50 / -1.00 | 0.05 / 0.20 |
| Singapore | 70% | 54% | 23.0 / 21.5 | -2.50 / -1.00 | 0.05 / 0.20 |
| Malaysia (Sepang) | 75% | 50% | 23.0 / 21.1 | -2.50 / -1.00 | 0.05 / 0.20 |
| Japan (Suzuka) | 79% | 54% | 23.0 / 20.7 | -3.50 / -2.00 | 0.15 / 0.50 |
| USA (Austin) | 77% | 56% | 23.0 / 21.5 | -2.50 / -1.00 | 0.05 / 0.20 |
| Mexico | 80% | 50% | 23.0 / 21.1 | -3.10 / -1.60 | 0.10 / 0.35 |
| Brazil (Interlagos) | 100% | 54% | 23.0 / 21.1 | -3.00 / -2.00 | 0.06 / 0.20 |
| Abu Dhabi (Yas Marina) | 100% | 54% | 23.0 / 21.1 | -3.00 / -2.00 | 0.06 / 0.20 |
Fuel load is 10 kg in every one of these setups.
Tracks by downforce level
If you only have time to change one thing before a session, change the wings. This is how the 20 tracks split by rear wing.
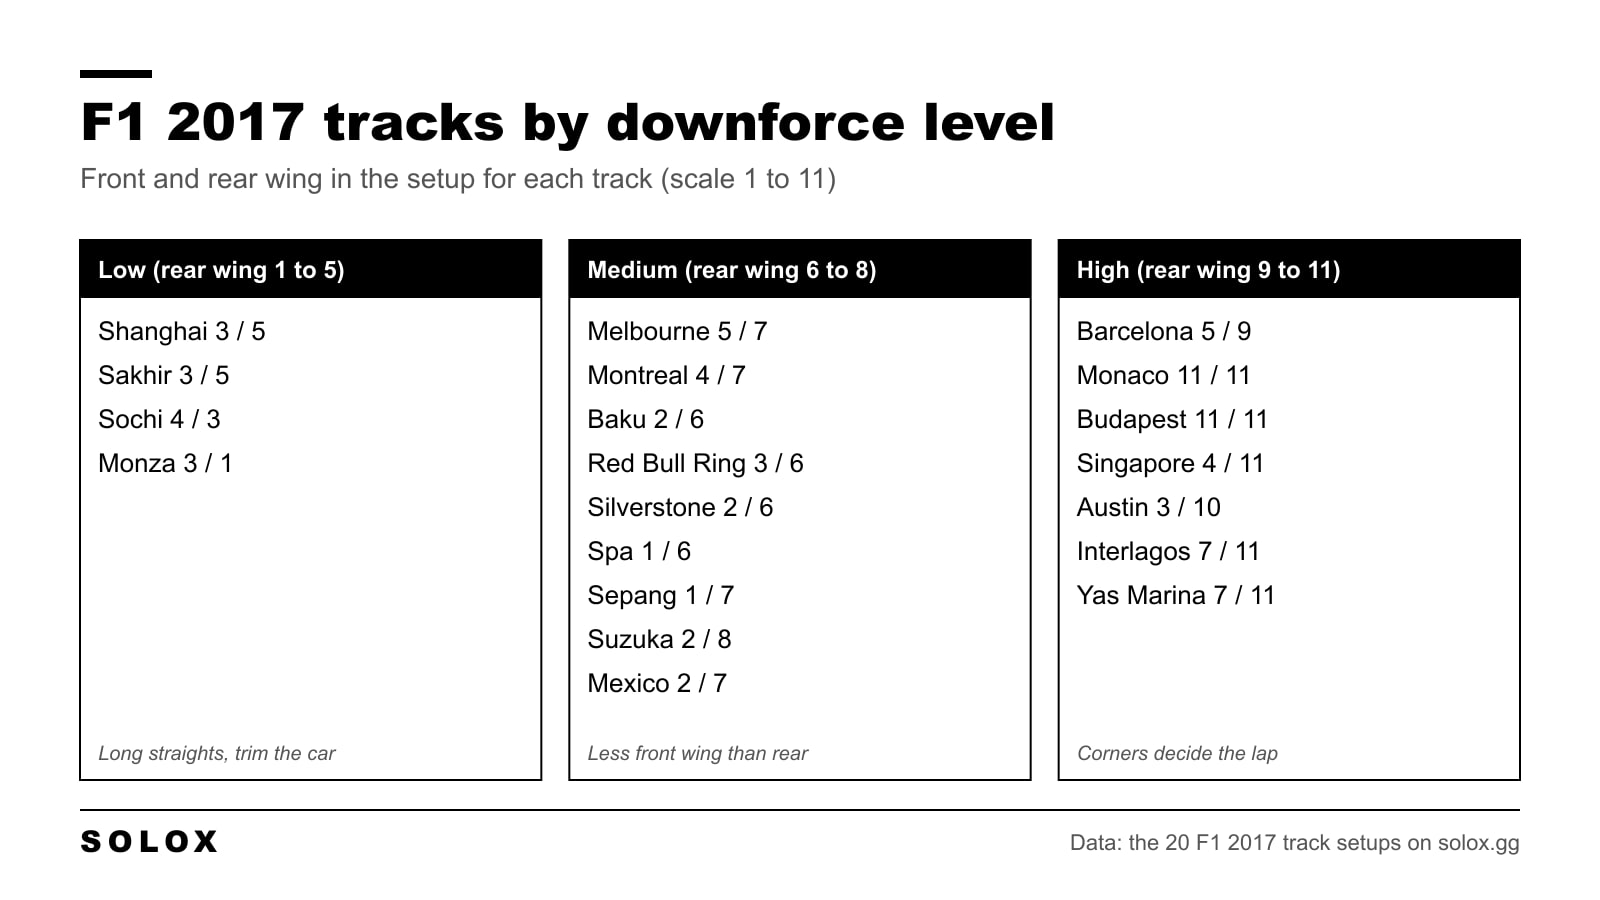
- Low downforce (rear wing 1 to 5): Shanghai, Sakhir, Sochi and Monza. Monza is the extreme with 3 and 1. Monza and Sochi are the only two tracks where the front wing is higher than the rear.
- Medium downforce (rear wing 6 to 8): Melbourne, Montreal, Baku, Red Bull Ring, Silverstone, Spa, Sepang, Suzuka and Mexico. All of these run a low front wing with a rear two to six clicks higher, so the car is stable in the fast corners and still quick on the straight.
- High downforce (rear wing 9 to 11): Barcelona, Monaco, Budapest, Singapore, Austin, Interlagos and Yas Marina. Monaco and Budapest are at the maximum on both ends.
What these setups have in common
Read the two tables side by side and a pattern comes out.
- Geometry barely moves. 13 of 20 tracks use camber -2.50 / -1.00 and toe 0.05 / 0.20. The exceptions are Sochi, Barcelona, Budapest, Suzuka, Mexico, Interlagos and Yas Marina, which run more camber.
- The differential is locked on throttle. 13 tracks have it at 100%. The lowest value is Mexico at 55%.
- Tyre pressures are almost fixed. 17 tracks run 23.0 psi at the front. Monza drops to 21.8 and 19.5 for straight line speed, and Monaco to 22.2 and 20.3 for grip.
- Brake bias stays forward. It goes from 50% to 57%. Brake pressure moves much more, from 70% to 100%.
- Suspension is where the setups disagree. Monza, Singapore, Sepang and Austin run the front at 11. Interlagos and Yas Marina run 1 and 1, as soft as the game allows.
One honest note. The Interlagos and Yas Marina pages share the same base setup and differ only in ballast. The Suzuka page used to show that base too, but its screenshots show a different setup, and the page now follows them. Several other tracks share a base too and only change wings. That is normal for a fast driver who has found a car they like, but it also means those three are a good base and not a setup tuned corner by corner. If the car feels lazy at Interlagos or Yas Marina with suspension at 1 and 1, stiffen it by two or three clicks and try again.
How to adjust a setup to your driving
A setup from somebody else's fast lap is built around their style. When I worked with engineers in F3 and F2 we never changed five things at once, and the same rule works in the game. One change, three laps, then decide.
- The rear steps out in fast corners. Add one or two clicks of rear wing. You lose a little on the straight and gain confidence everywhere else.
- The car will not turn in. Add a click of front wing, or soften the front anti-roll bar by one.
- You spin on the exit of slow corners. Lower the on throttle differential from 100% to 85 or 90%. The rear wheels can then turn at different speeds and the car puts the power down more gently.
- The car pushes wide when you lift. Lower the off throttle differential by 5 to 10%.
- You lock the front tyres. Take 3 to 5% off the brake pressure before you touch the bias.
- You hit the kerbs and the car jumps. Raise the ride height by one click at both ends, or soften the suspension by one.
If you are on a pad, start with points 3 and 5. A trigger gives you less travel than a pedal, so a more open differential and a little less brake pressure make the car far easier to control.
Setups for the other F1 games
A setup does not carry over from one game to the next, because the handling and the setup menu change every year. Each game has its own page:
FAQ
What is the best setup in F1 2017?
There is no single one. The base that works at most tracks is camber -2.50 and -1.00, toe 0.05 and 0.20, on throttle differential at 100% and tyres at 23.0 and 21.1 psi. Then set the wings for the track from the table above.
Which F1 2017 tracks need the most downforce?
Monaco and Budapest run both wings at 11, the maximum. Singapore, Interlagos and Yas Marina also run the rear wing at 11. Monza is the opposite, with 3 at the front and 1 at the rear.
Do these F1 2017 setups work with a controller?
Yes. The setup menu is the same on a pad and on a wheel. On a pad I would lower the on throttle differential to 85 or 90% and take a few percent off the brake pressure, because triggers are harder to modulate than pedals.
Can I use these setups in a race?
You can, but they are saved with 10 kg of fuel, which is a time trial load. With race fuel the car is heavier and the rear tyres work harder, so add one click of rear wing and check your tyre wear after five laps.
Do F1 2017 setups work in F1 2018 or later games?
No. Every game has its own handling model, so a setup that is fast in F1 2017 will not behave the same way in another year. Use the page for your game from the list above.
Where do I change the setup in F1 2017?
In the garage, before you leave the pits. Open the car setup screen, pick a preset or build a custom setup, and save it so you can load it again at that track.
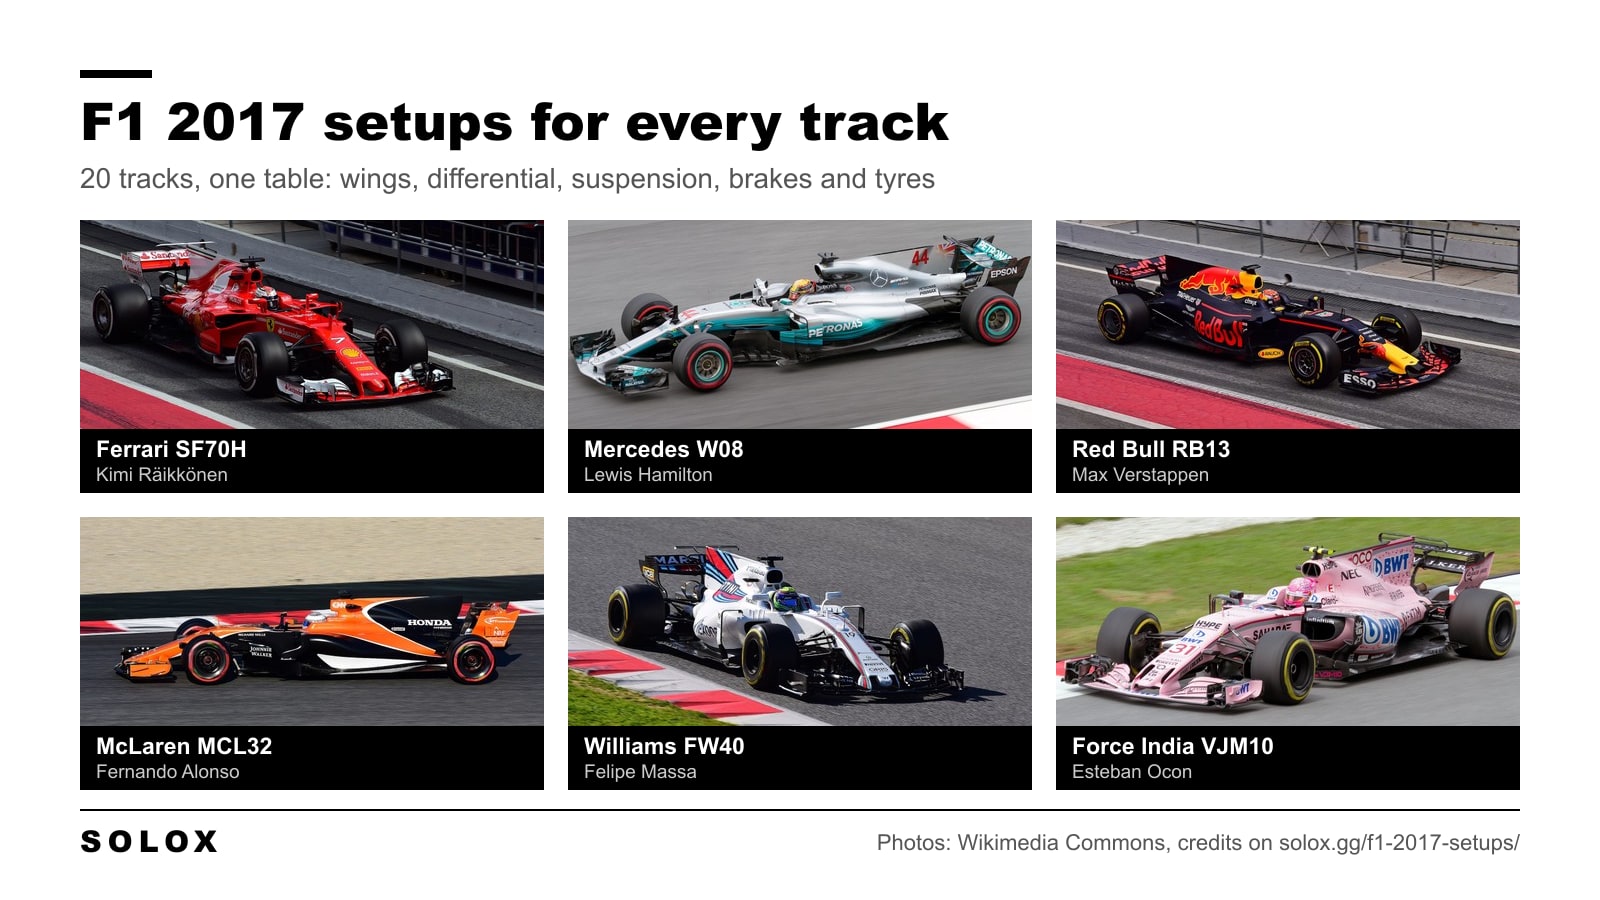
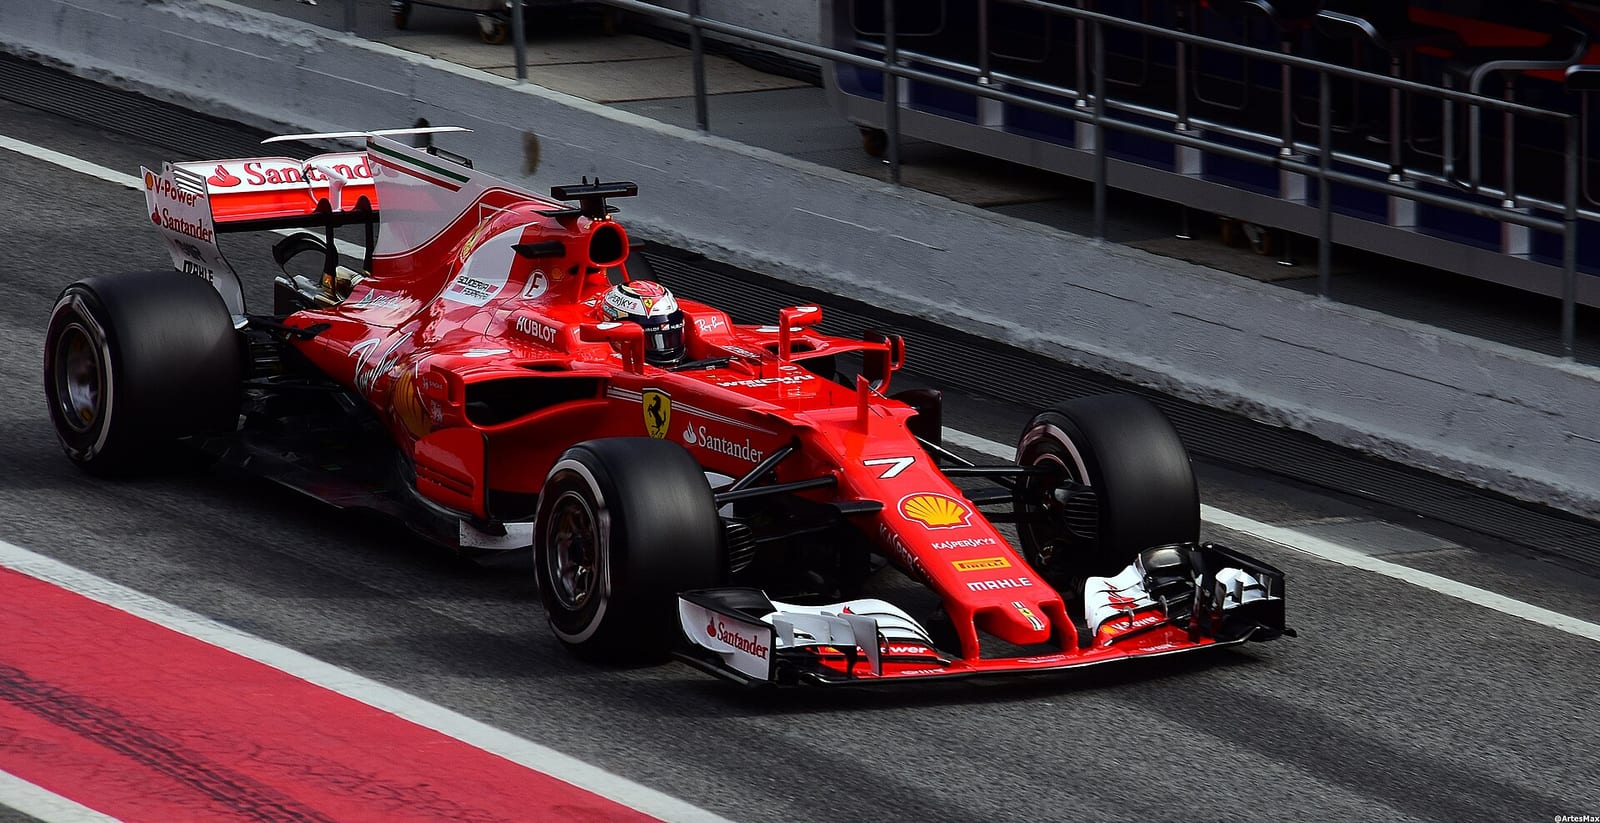
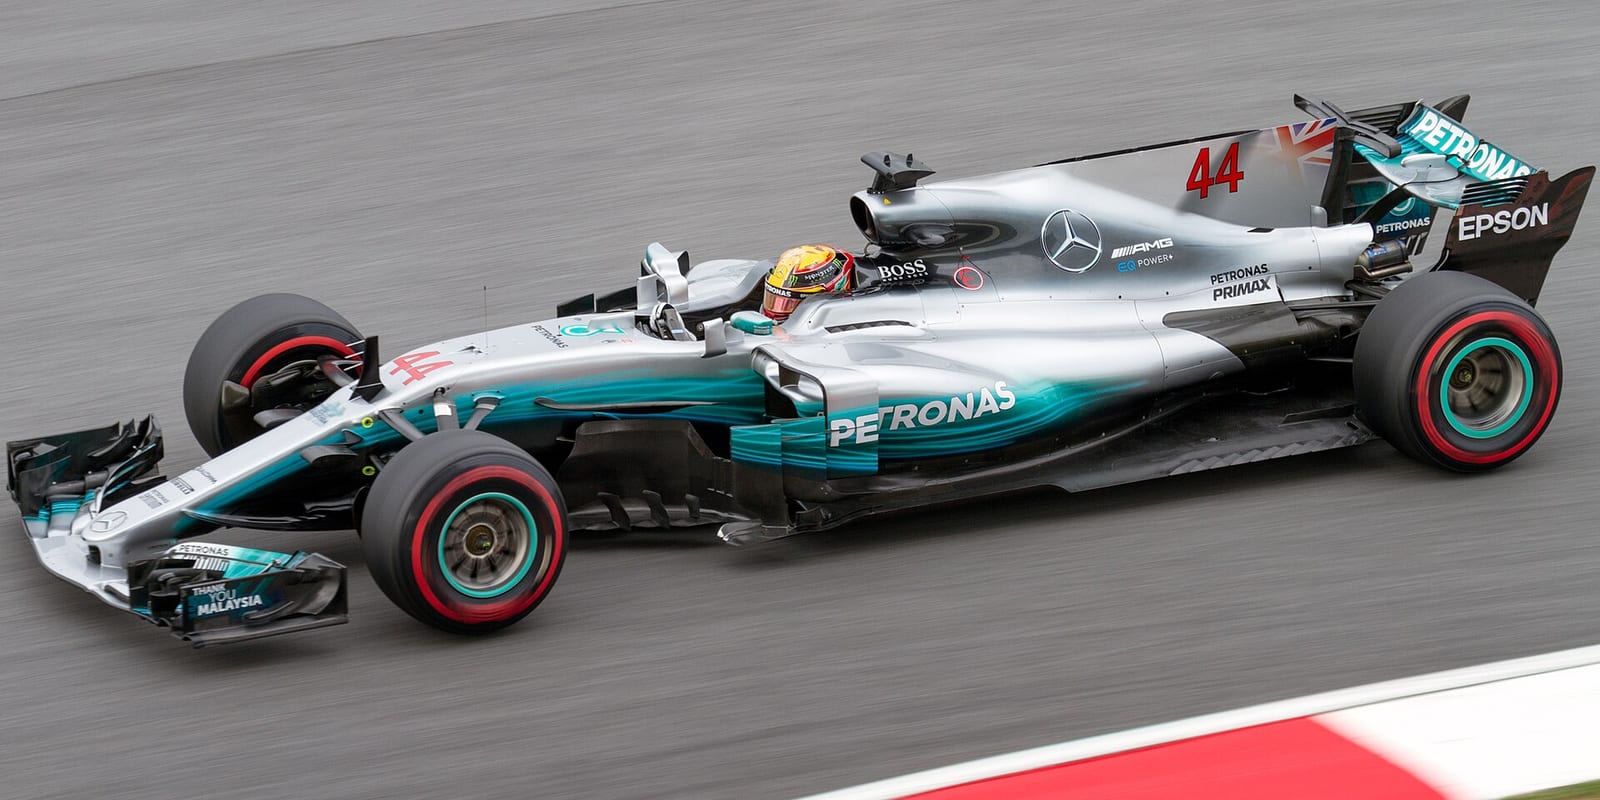
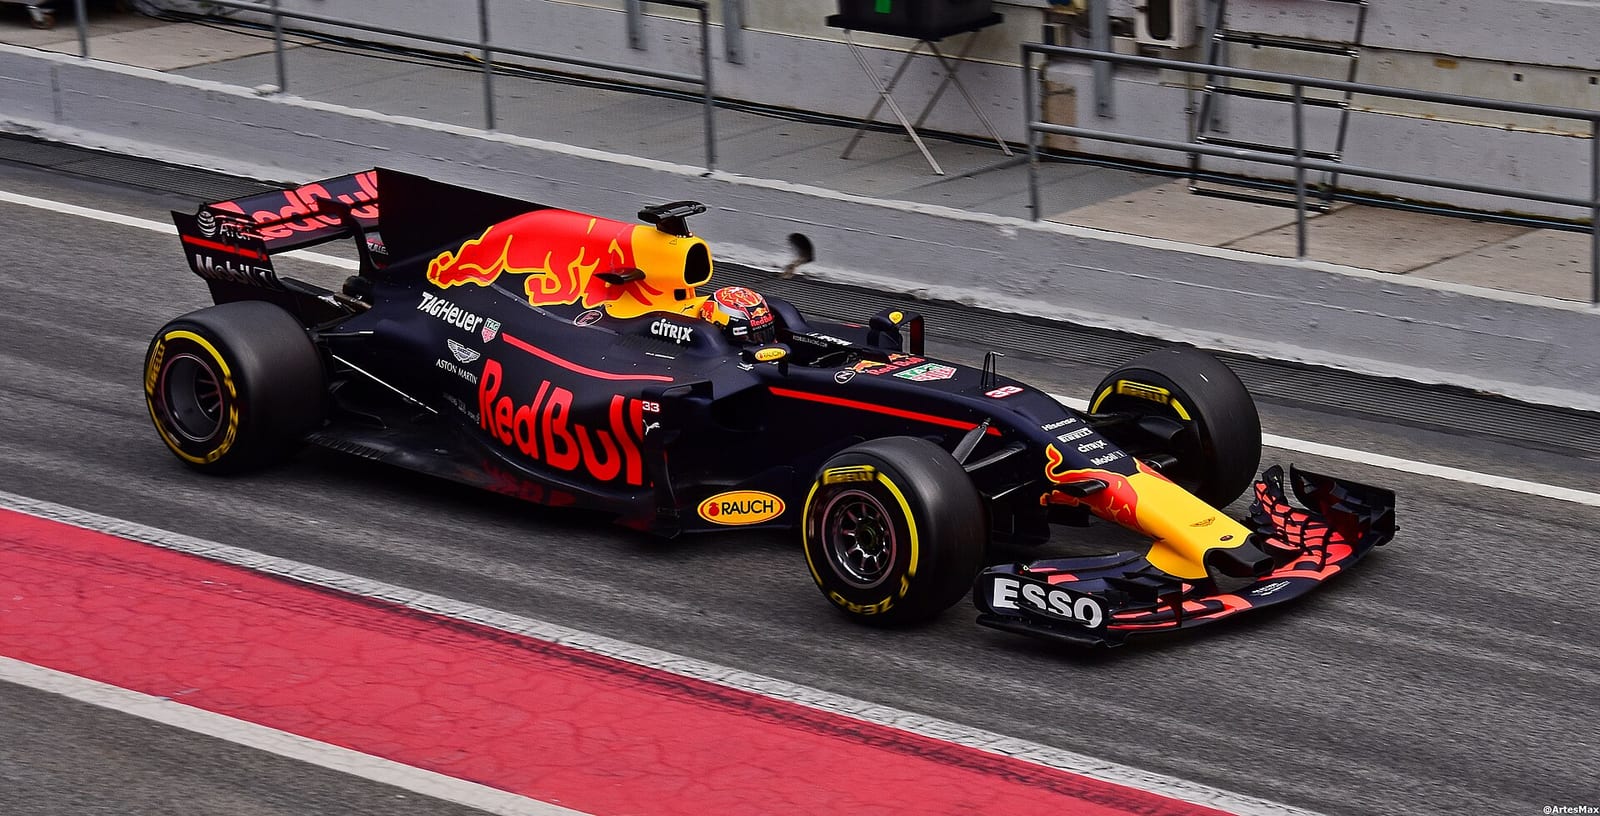
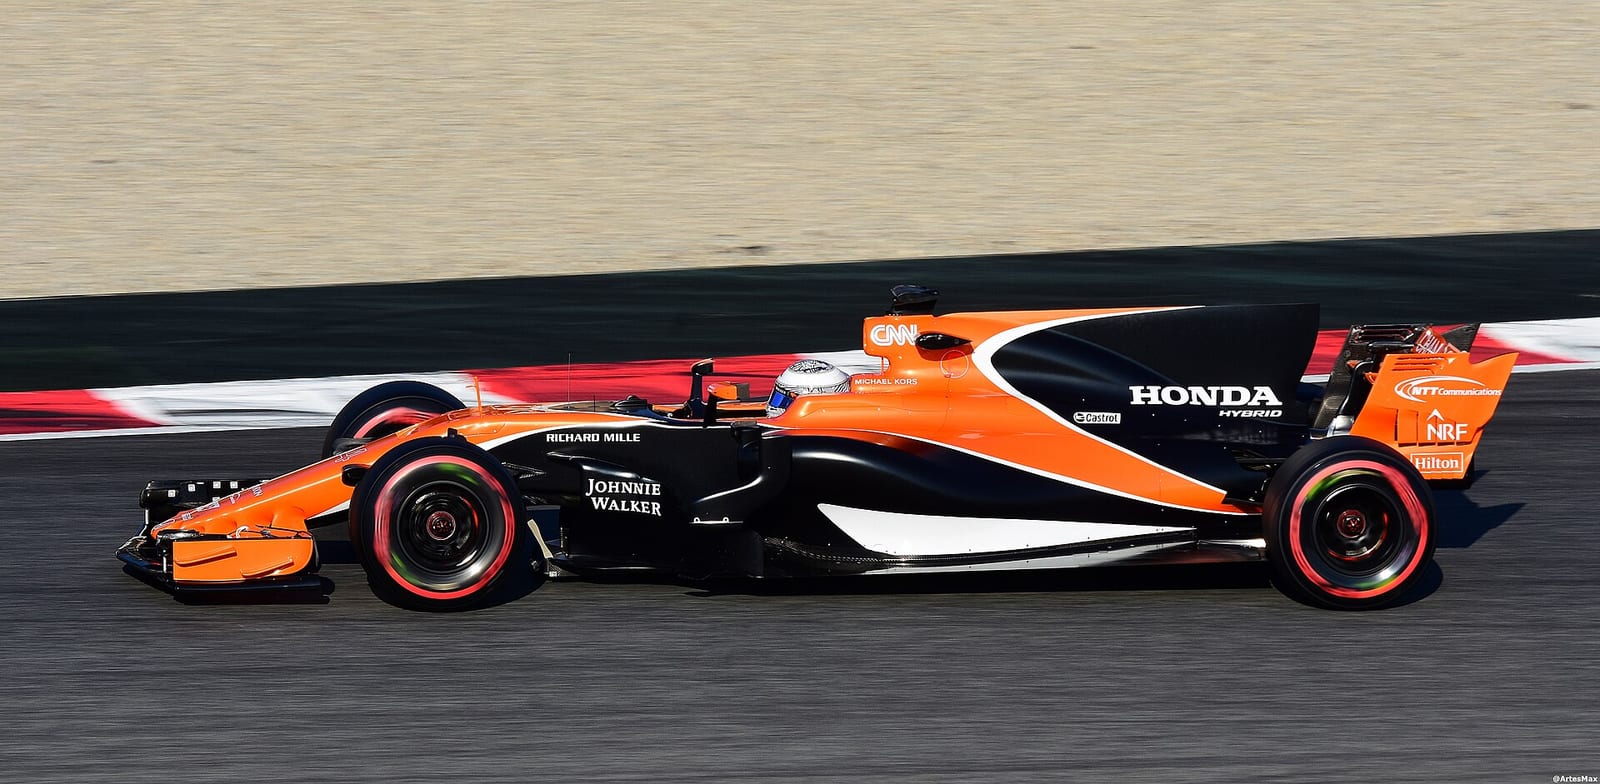
Header photos: Kimi Räikkönen, Max Verstappen, Fernando Alonso and Felipe Massa by Artes Max, CC BY-SA 2.0. Lewis Hamilton and Esteban Ocon by Morio, CC BY-SA 4.0. All from Wikimedia Commons.