
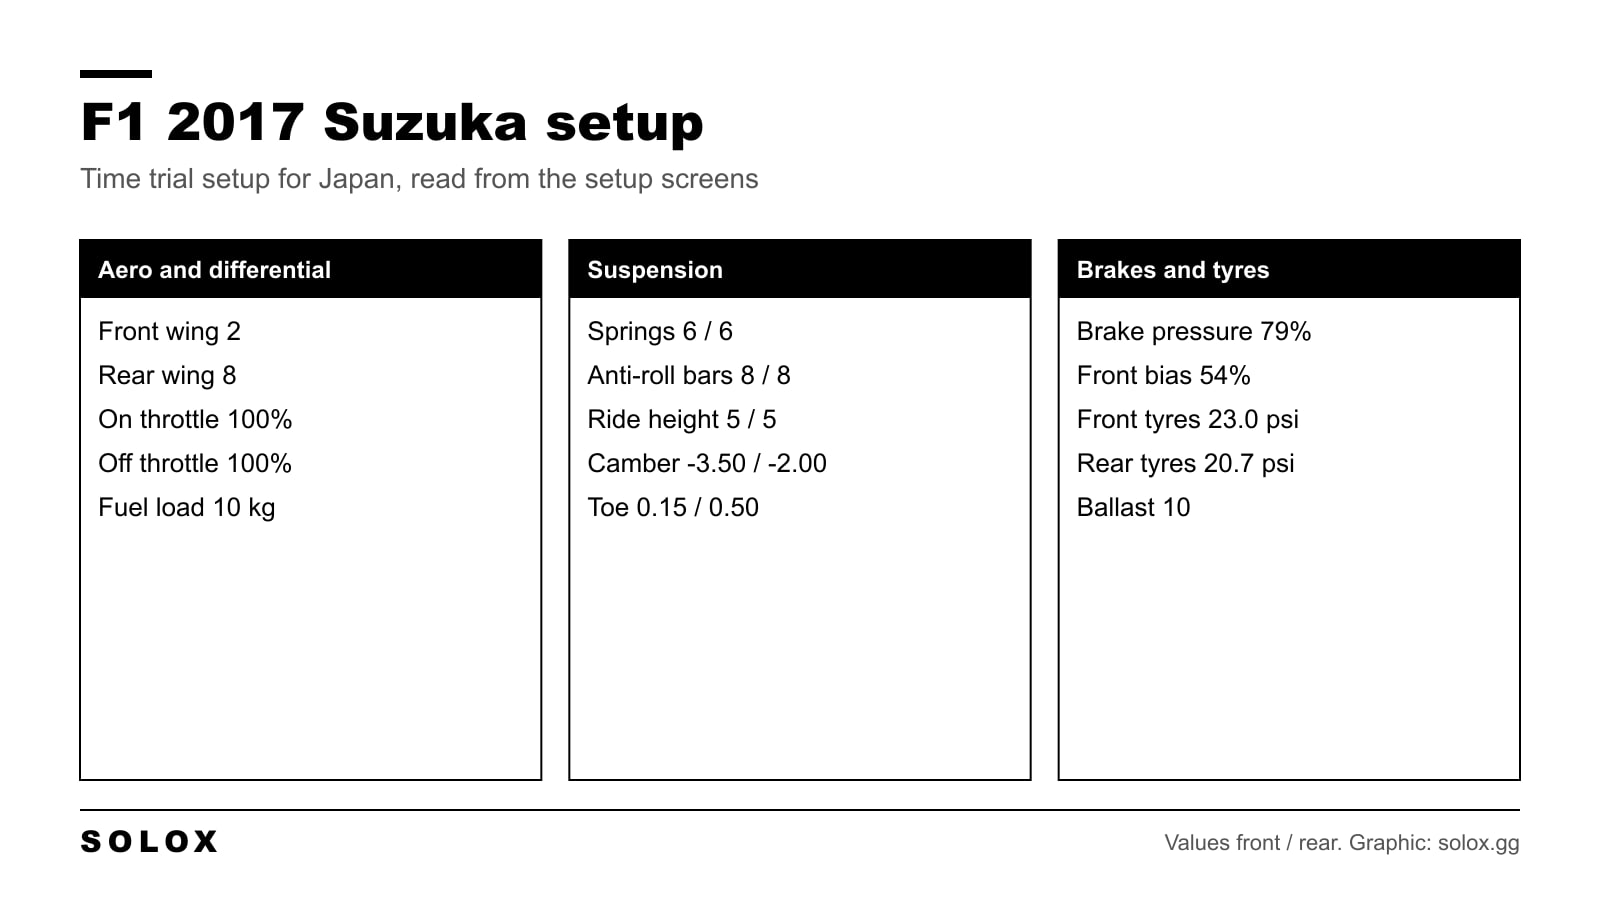
This is the F1 2017 setup for Suzuka on this site: front wing 2, rear wing 8, the differential locked at 100% on and off throttle, and camber and toe at the limit of the menu. It is a time trial setup, saved with 10 kg of fuel. Every value below is read from the setup screens, and the onboard lap is further down.
One correction first. Until today, the text of this page listed wings at 7 and 11, suspension at 1 and 1 and a differential at 85% and 50%. Those are the values of my Interlagos and Yas Marina setups, copied by mistake. The screenshots of the Suzuka setup were always on the page, and they show something very different. The screen wins.
F1 2017 Suzuka setup
| Setting | Value |
|---|---|
| Fuel load | 10 kg |
| Front wing | 2 |
| Rear wing | 8 |
| Differential on throttle | 100% |
| Differential off throttle | 100% |
| Front camber | -3.50 |
| Rear camber | -2.00 |
| Front toe | 0.15 |
| Rear toe | 0.50 |
| Front suspension | 6 |
| Rear suspension | 6 |
| Front anti-roll bar | 8 |
| Rear anti-roll bar | 8 |
| Front ride height | 5 |
| Rear ride height | 5 |
| Brake pressure | 79% |
| Front brake bias | 54% |
| Front tyre pressure | 23.0 psi |
| Rear tyre pressure | 20.7 psi |
| Ballast | 10 |

Here is the lap:
Why this setup works at Suzuka
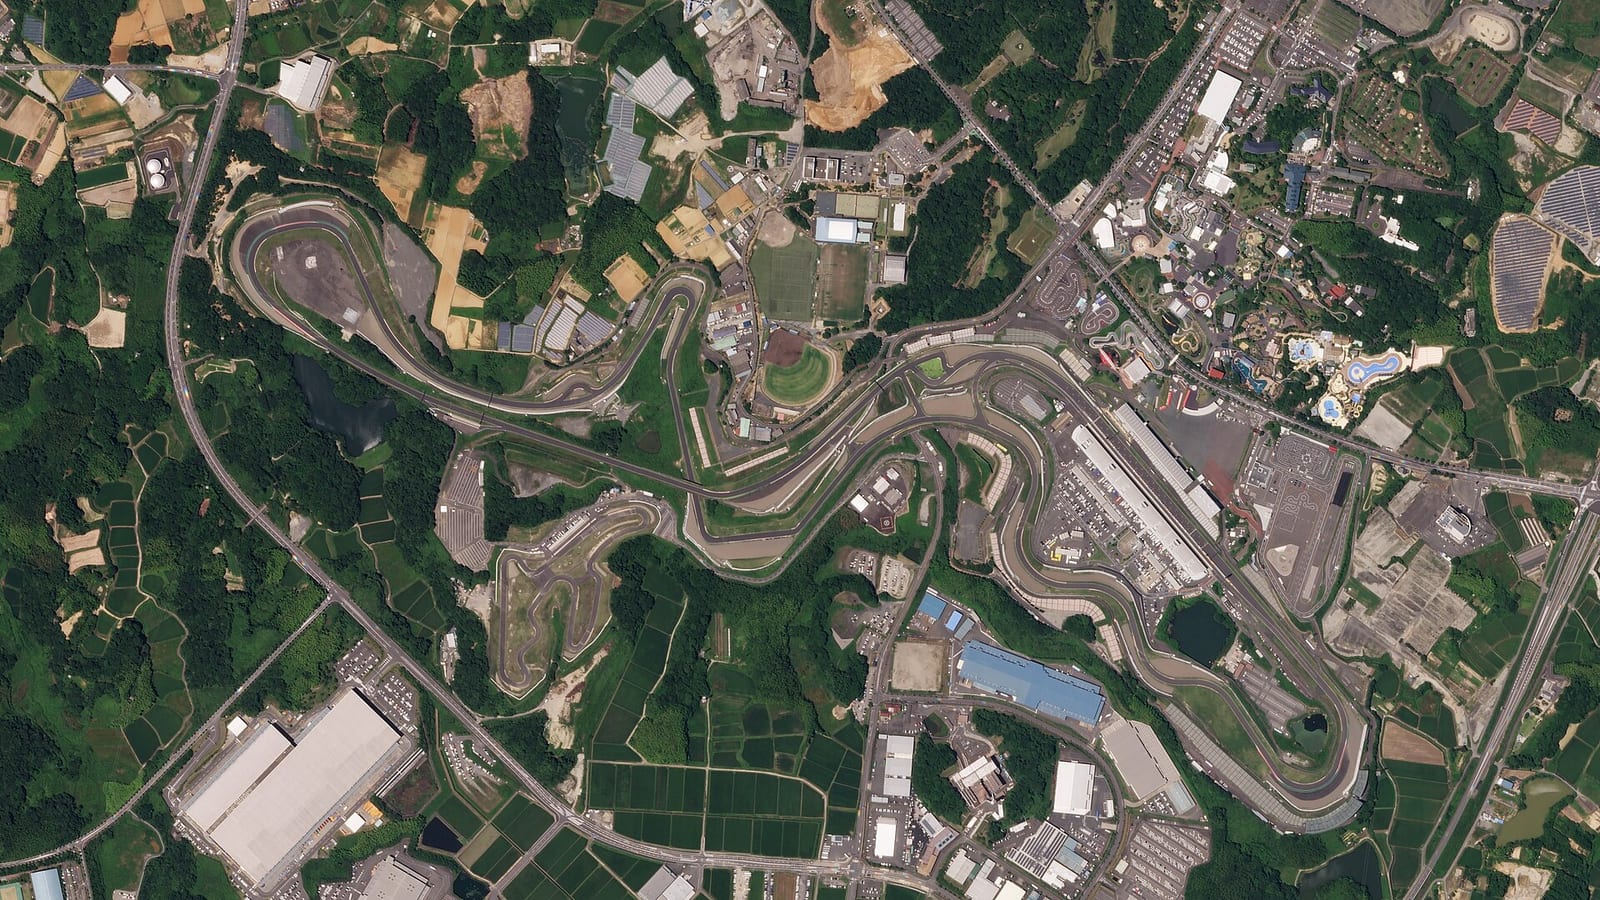
Suzuka is 5.807 km with 18 turns, and it is a figure of eight: the back straight crosses over the front part of the track on a bridge. The first sector is the Esses, a chain of quick changes of direction. The last part of the lap is long and fast, from Spoon through 130R to the chicane.
The wings are 2 at the front and 8 at the rear. That is a lot less than the 7 and 11 this page used to show. A low front wing keeps the car from becoming nervous at high speed, and the 8 on the rear keeps the car planted through the Esses, Spoon and 130R. It is the same kind of split I run at the other fast tracks: 1 and 7 at Sepang, 2 and 6 at Silverstone.
A balanced car
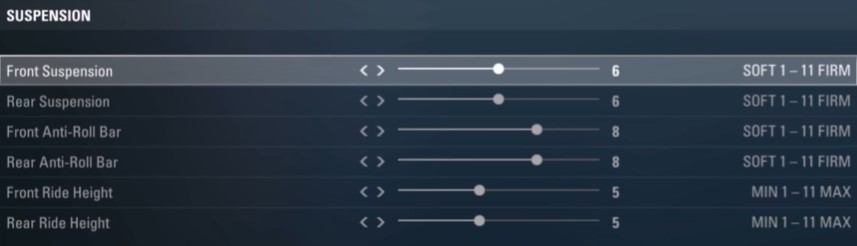
Springs 6 and 6, anti-roll bars 8 and 8, ride height 5 and 5. Front and rear are the same. Most of my 2017 setups run a stiffer front than rear. Here the car is even.
That suits the Esses. You change direction five or six times in a few seconds, and a car that is stiff at one end and soft at the other reacts differently on every change. An even car does the same thing left and right.
Locked differential, maximum geometry
The differential is at 100% on throttle and 100% off. Fully locked both ways. My Singapore setup is the only other 2017 setup on this site that does that.
Locked off throttle makes the car stable on the way into the fast corners, because both rear wheels turn at the same speed and the rear does not rotate on its own. At Suzuka, with 130R and Spoon, a calm rear on entry is worth more than a car that turns easily into the hairpin.
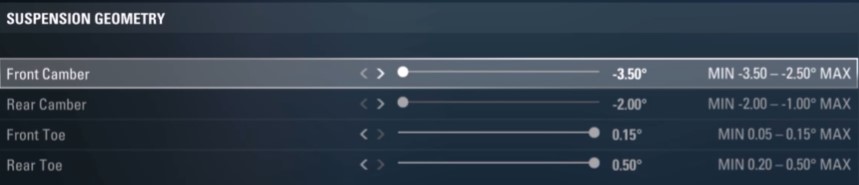
Camber and toe are at the limit of the menu: -3.50 and -2.00, with 0.15 and 0.50, the same as my Barcelona setup. Long, loaded corners again: Turn 1, Degner 1, Spoon and 130R all keep the car on the outside tyres for a long time.
Brakes, tyres and ballast
Brake pressure is 79% with 54% at the front. Suzuka has few big stops: the hairpin and the chicane are the two. Most braking is a short touch before a fast corner, and lower pressure makes it easier to do that without locking a front wheel.
Tyres run 23.0 psi at the front and 20.7 at the rear, a little lower at the rear than most of my 2017 setups. A lower rear pressure gives the rear tyres a bigger contact patch, which helps traction out of the hairpin and the chicane with the locked differential.
Ballast is at 10, close to the rear end of the range.
What to change
One change at a time, three laps, then decide.
| Problem | Change |
|---|---|
| The rear moves in the Esses | Rear anti-roll bar from 8 to 7 |
| The car pushes wide in Spoon | Front wing from 2 to 3 |
| The car does not turn into the hairpin | Off throttle differential from 100% to 80% |
| Wheelspin out of the hairpin or the chicane | On throttle differential from 100% to 90% |
| Front tyres lock into the chicane | Brake pressure from 79% to 75% |
| The car is nervous through 130R | Rear wing from 8 to 9 |
For a race. Bring the camber back to about -3.00 and -1.50 and the rear toe to 0.35, to keep the tyres cooler. Lower the off throttle differential to 80% so the car turns more easily on worn tyres.
On a pad. Lower the on throttle differential to 85% and the off throttle to 80%. A fully locked differential is hard to manage with a trigger out of the slow corners.
Where the lap time is at Suzuka
Turn 1 and Turn 2. A fast downhill right after the pit straight, then a tighter right. Commit to Turn 1 and give up a little in Turn 2 for the run into the Esses.
The Esses. Left, right, left, right up the hill. The rhythm matters more than any single corner. If you are late on the first one, you are late on all of them.
Dunlop and Degner. A long left uphill, then the two Degner rights. Degner 1 is fast, Degner 2 is a short stop. Do not run wide out of Degner 2, the track goes under the bridge straight after.
The hairpin. The slowest corner on the lap. Brake straight, turn late and get the power down early with the locked differential.
Spoon. A long double left. Patient on the entry, early on the throttle on the second part, because it leads onto the back straight.
130R. The fast left at the end of the back straight, after the bridge. Turn in early and keep the steering smooth. A lift here costs you the whole run to the chicane.
The chicane. A hard stop for a right left before the last corner. Brake straight and do not cut it.
Japan in 2017
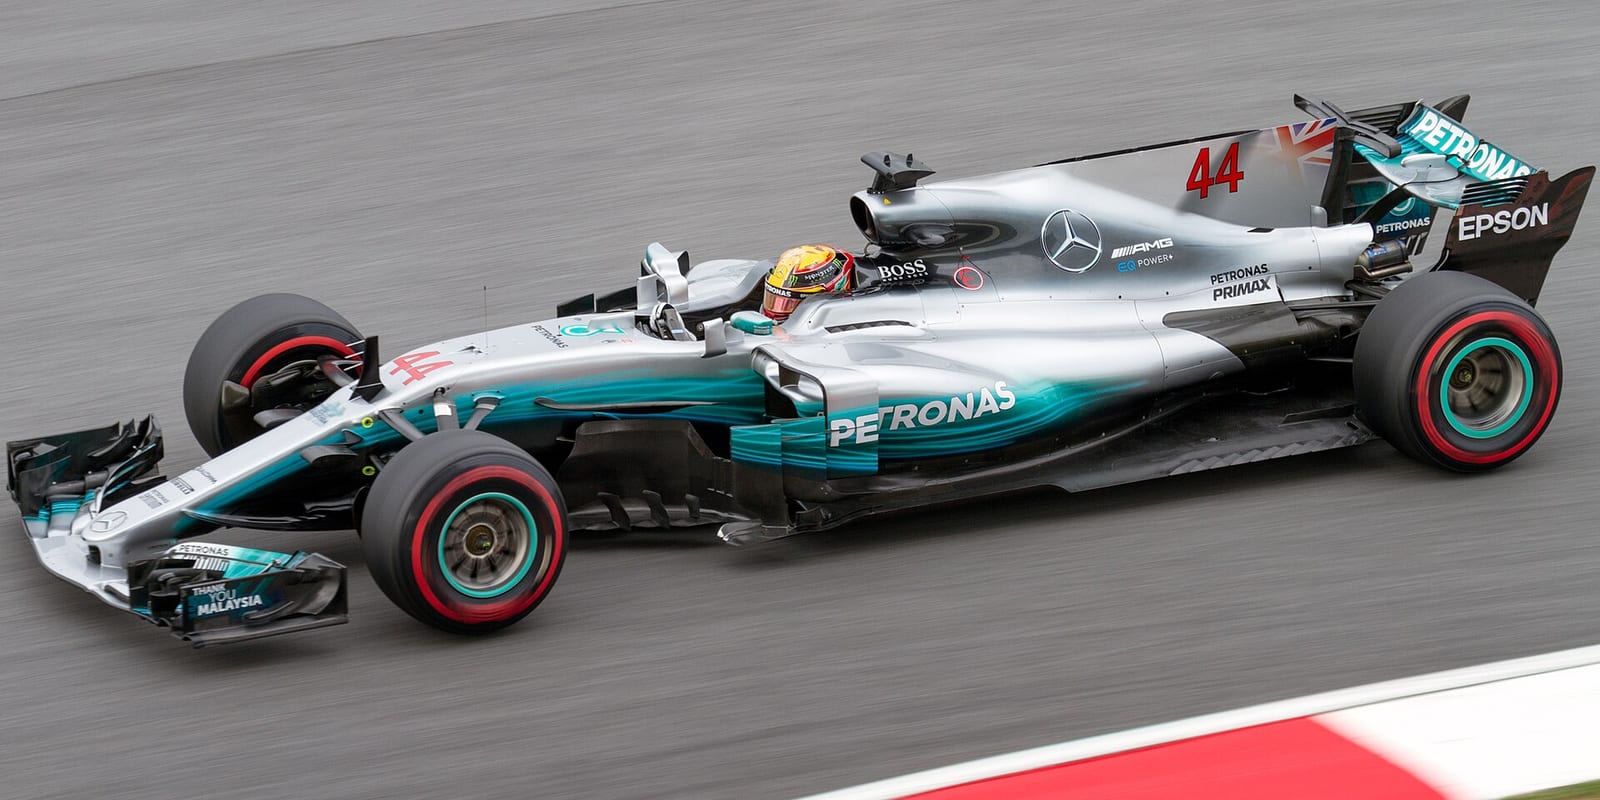
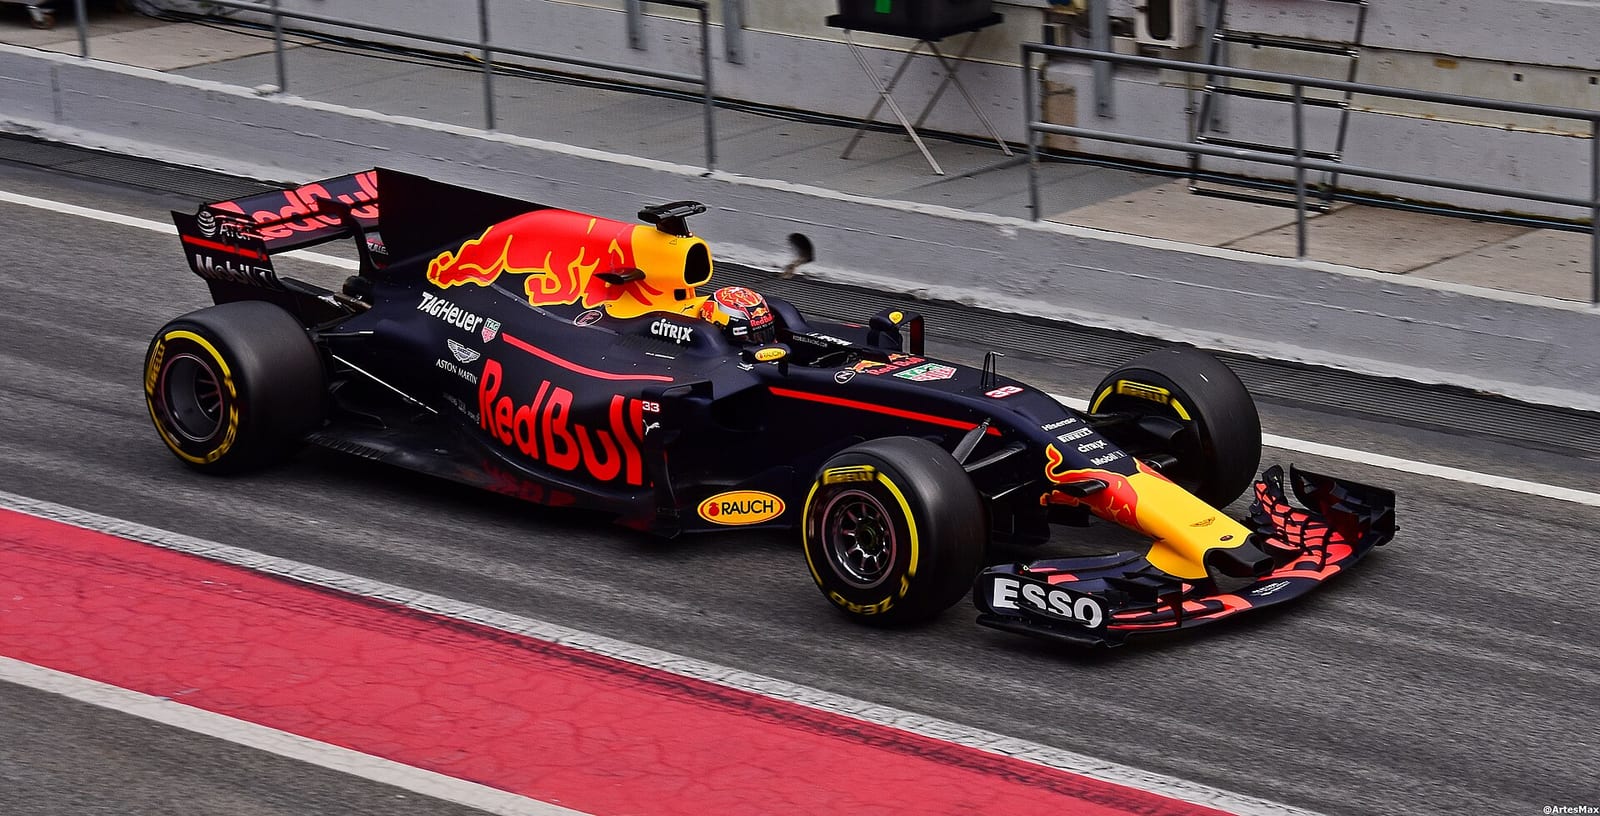
Lewis Hamilton took pole for the 2017 Japanese Grand Prix with a 1:27.319 and won the race on 8 October, over 53 laps. Max Verstappen finished second, 1.211 seconds behind, and Daniel Ricciardo third for Red Bull. Valtteri Bottas set the fastest lap, a 1:33.144 on lap 50.
The race decided a lot. Sebastian Vettel started second and retired on the fourth lap with a spark plug failure. Hamilton went from 34 to 59 points ahead in the championship with four races left.
More F1 2017 setups
Suzuka comes after Sepang on the 2017 calendar and before Austin. The closest setups to this one are Silverstone for the wings and Singapore for the locked differential. All 20 tracks are in one table on the F1 2017 setups page.
If you play the current game, see my F1 25 Japan setup.
FAQ
What is the best F1 2017 setup for Suzuka?
Front wing 2, rear wing 8, differential 100% on and off throttle, camber -3.50 and -2.00, toe 0.15 and 0.50, suspension 6 and 6, anti-roll bars 8 and 8, ride height 5 and 5, brake pressure 79% with 54% front bias, tyres at 23.0 and 20.7 psi and ballast 10.
What wing levels should I run at Suzuka in F1 2017?
2 at the front and 8 at the rear. Low drag for the back straight, with enough rear wing for the Esses and 130R.
Why did the values on this page change?
The old text listed the values of my Interlagos and Yas Marina setups by mistake. The Suzuka screenshots were always on the page, and the values now match them.
Can I use this Suzuka setup in a race?
Yes, with changes. It is saved with 10 kg of fuel. Bring the camber back to about -3.00 and -1.50 and lower the off throttle differential to 80%.
Does this setup work with a controller?
It does. Run the differential at 85% on throttle and 80% off, so the car is easier to manage with a trigger.
Is Suzuka a figure of eight?
Yes. The back straight crosses over the front part of the track on a bridge, between Degner and the hairpin.